Your tent mesh is your shield against bugs, wind, and debris while you enjoy the outdoors. But what happens when it tears or gets damaged?
You might feel frustrated, thinking your camping plans are ruined or that a costly replacement is your only option. The good news? You don’t have to give up on your tent or spend a fortune. In this guide, you’ll discover simple, effective ways to repair your tent mesh quickly and keep your shelter strong.
Keep reading, and you’ll learn how to fix those tears with easy steps that anyone can follow—saving your gear and your adventure.
Tools And Materials Needed
Repairing tent mesh needs certain tools and materials to work well. Gathering these items before starting saves time and helps the repair last longer.
Careful choice of supplies makes fixing tears or holes easier. This guide shows what you need to prepare for a smooth repair.
Essential Repair Supplies
You need a few basic supplies for mesh repair. These tools help you handle the mesh and apply patches correctly.
- Needle and thread suitable for outdoor fabrics
- Scissors to cut patches and thread
- Seam ripper to remove damaged mesh edges
- Mesh repair tape or adhesive patches
- Fabric glue designed for mesh or nylon
- Cleaning cloth to prepare the surface
- Rubbing alcohol to clean the mesh area
- A small brush for applying glue if needed
Choosing The Right Patch Material
Selecting the right patch material keeps your tent mesh strong and durable. Patches come in different fabrics and adhesives.
| Patch Type | Material | Best Use | Durability |
|---|---|---|---|
| Adhesive Mesh Patch | Nylon or polyester mesh with sticky backing | Small tears and holes | Good for quick fixes and light use |
| Fabric Repair Tape | Waterproof nylon tape | Reinforcing damaged areas | Strong and weather resistant |
| Sew-on Mesh Patch | Matching mesh fabric | Larger tears needing sewing | Very durable when sewn properly |
| Liquid Fabric Glue | Flexible adhesive for fabrics | Sealing small holes and edges | Moderate durability, flexible |

Credit: www.gearaid.com
Preparing The Tent Mesh
Fixing a torn tent mesh starts with good preparation. You need to clean and trim the damaged area carefully.
This process helps the repair last longer and keeps the mesh strong.
Cleaning The Damaged Area
Remove dirt and dust from the torn mesh. Use a soft brush or cloth with mild soap and water. Be gentle to avoid making the hole bigger.
- Brush off loose dirt.
- Apply mild soap with water.
- Wipe carefully around the tear.
- Let the mesh dry completely.
Trimming Loose Threads
Cut off any loose threads around the tear. This stops the damage from spreading. Use small scissors and trim close to the mesh.
| Tool | Purpose |
|---|---|
| Small scissors | Trim loose threads cleanly |
| Tweezers | Remove stuck threads carefully |
| Soft brush | Clean dirt before repair |
Repair Methods
Fixing a torn tent mesh helps keep bugs out and air flowing. There are simple ways to repair small holes and tears. These methods save money and extend your tent’s life.
Choose the right way to fix your mesh based on the damage size and tools you have. This guide explains three easy repair methods to try.
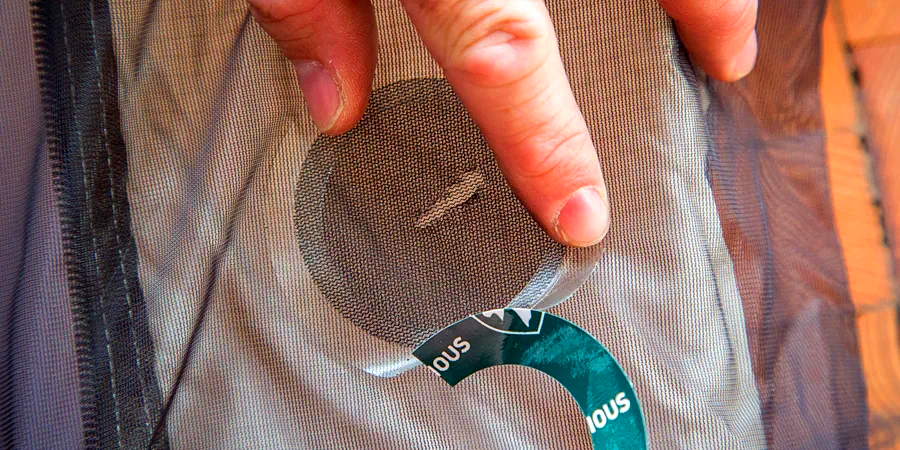
Using Adhesive Patches
Adhesive patches stick directly to the mesh to cover holes. They work well for small to medium tears. Clean the mesh area before applying the patch for better hold.
Press the patch firmly and let it set for several hours. These patches are lightweight and won’t block air flow. They come in clear or mesh-like materials to blend in.
Sewing Tears By Hand
Hand sewing works well for longer or jagged tears. Use a strong needle and fine thread made for outdoor fabric. Sew slowly and carefully to avoid making bigger holes.
Use small stitches close together to hold the mesh tightly. Tie knots securely at both ends to stop the thread from loosening. This repair lasts longer but needs some sewing skill.
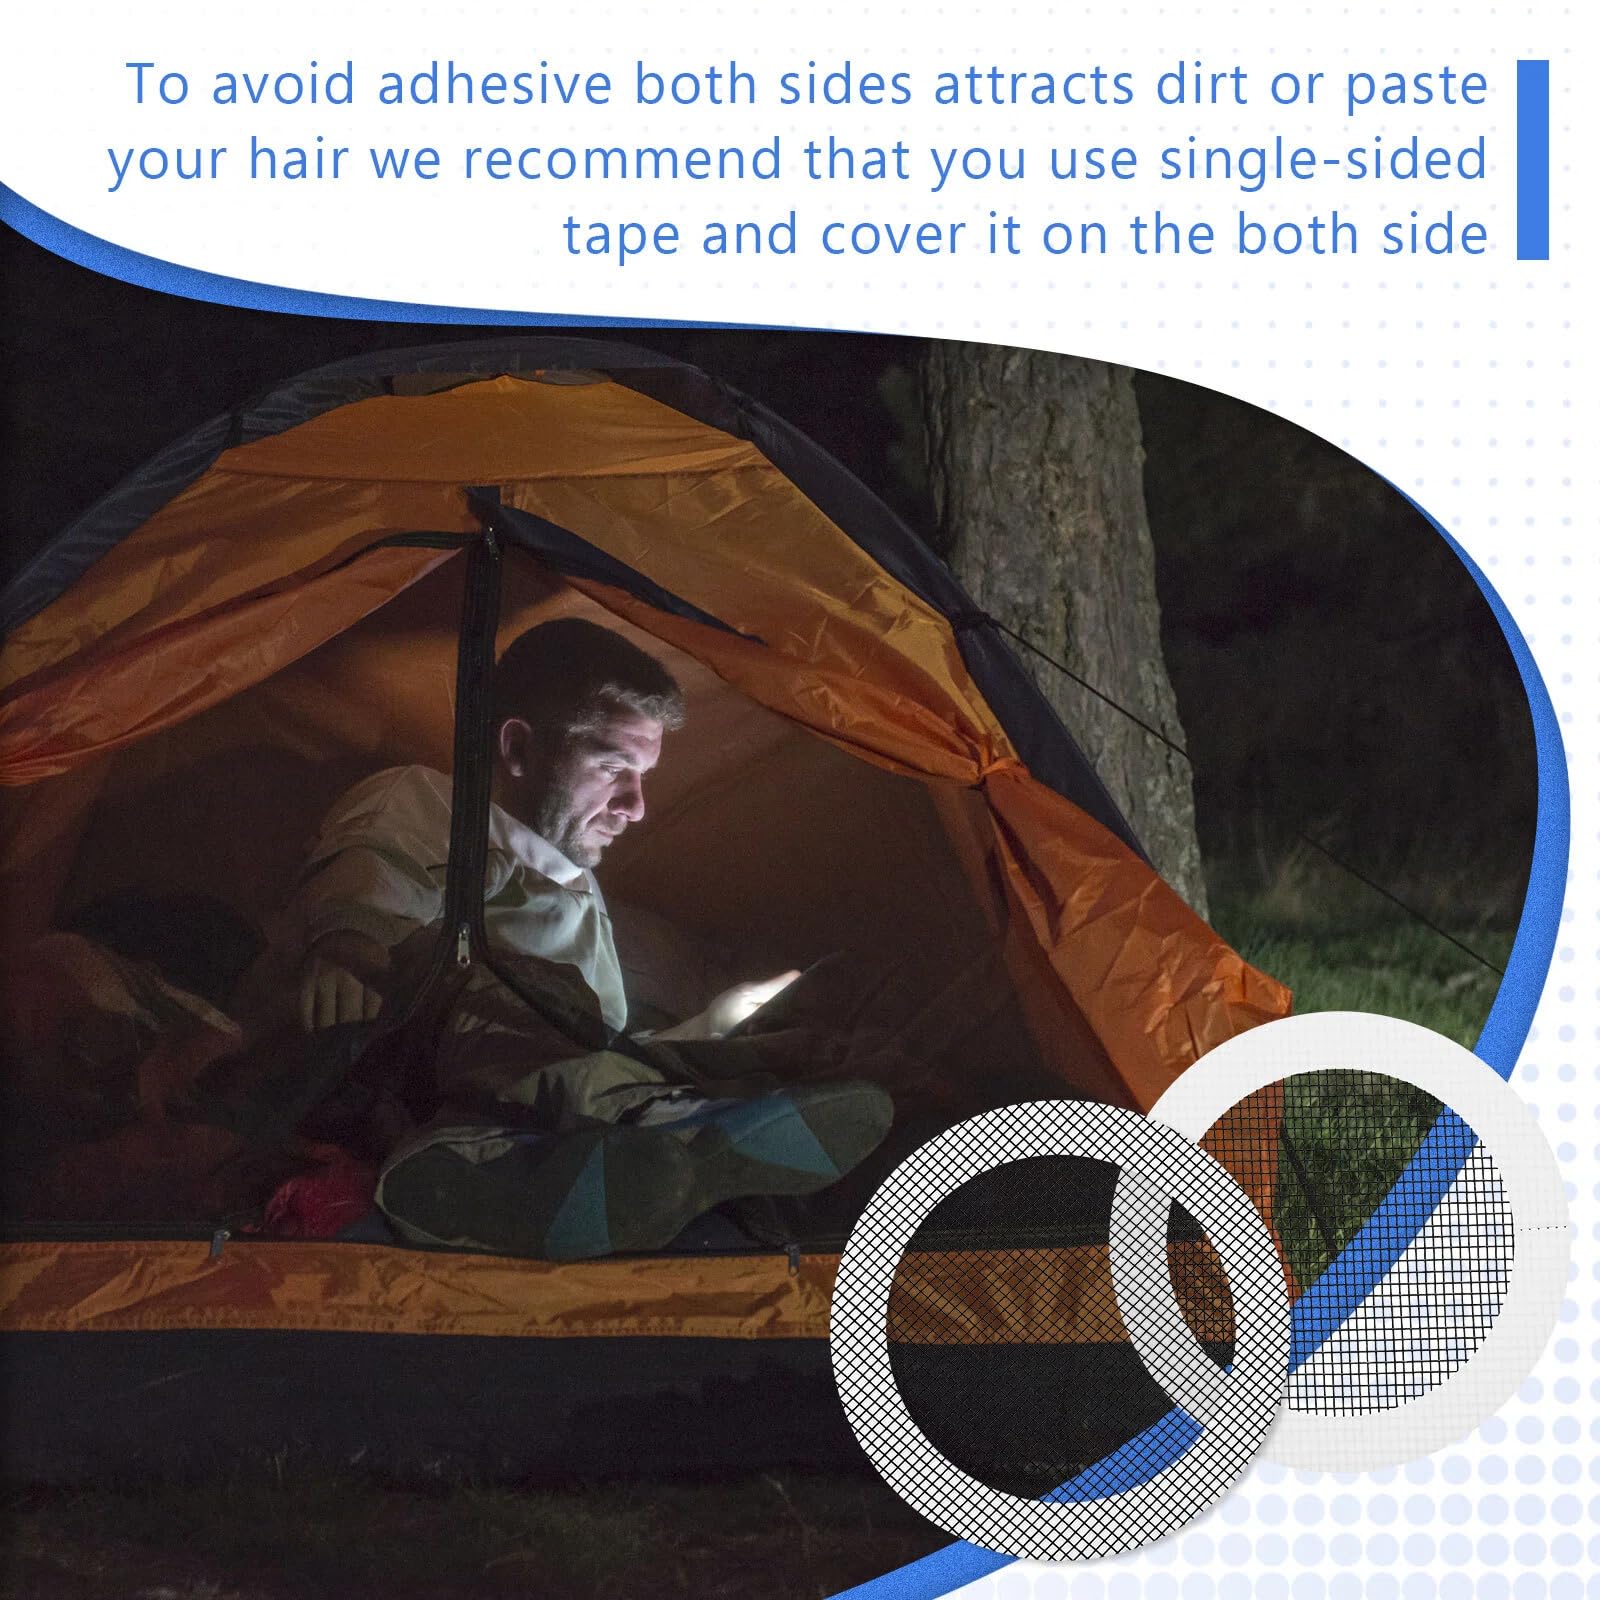
Applying Tape For Quick Fixes
Tape works as a fast, temporary fix for small tears or holes. Use strong outdoor tape or tent repair tape. Make sure the mesh is clean and dry before taping.
Cut the tape larger than the hole and press it firmly on the mesh. This stopgap solution helps prevent bugs from entering until you can do a better repair.
Step-by-step Repair Process
Fixing a torn tent mesh can save your gear and keep bugs out. This guide walks you through easy steps to repair the mesh.
Follow these simple instructions to measure, cut, attach, and seal the patch on your tent mesh.
Measuring And Cutting The Patch
Start by measuring the size of the tear in the mesh. Add about one inch on all sides for the patch overlap.
Cut a piece of mesh patch material that matches your measurements. Make sure the patch is slightly bigger than the hole.
- Use a ruler or measuring tape to get exact size
- Choose patch material similar to your tent mesh
- Cut with sharp scissors for clean edges
- Keep the patch shape simple, like a square or rectangle
Applying Adhesive Or Stitching
Apply fabric glue or adhesive tape to the edges of the patch. Press it firmly onto the damaged mesh.
If you prefer stitching, sew the patch with strong thread. Use small, tight stitches around the patch edges.
- Clean the mesh area before applying glue or stitching
- Use waterproof adhesive for better durability
- Stitch with a needle suitable for thin mesh fabric
- Make stitches close together to prevent gaps
Sealing And Finishing Touches
After attaching the patch, seal the edges with seam sealer or waterproof tape. This stops water and bugs from entering.
Let the adhesive or sealant dry completely before using the tent. Check the patch for loose edges or holes.
- Apply seam sealer evenly along the patch edges
- Use waterproof tape for extra protection
- Allow drying time as per product instructions
- Inspect the repair before packing your tent
Tips For Durable Repairs
Fixing tent mesh needs care to keep it strong. Small tears grow if not repaired well. Using the right methods helps your tent last longer.
This guide gives tips to make your tent mesh repairs hold up. Focus on key areas and keep your tent in good shape after fixing it.
Reinforcing Stress Points
Stress points on tent mesh face the most pressure. These spots need extra strength to avoid new tears. Reinforcing them is a smart way to protect your repair.
- Use strong patches that match the mesh type.
- Apply patches with fabric glue and sewing for best hold.
- Stitch around patches using small, tight stitches.
- Add extra fabric strips on corners where stress is highest.
- Check seams and edges for weak spots and reinforce them.
Maintaining Tent Mesh After Repair
After fixing the mesh, keep it clean and dry. Proper care extends the life of your repairs and the tent itself. Avoid rough handling that can cause new damage.
| Maintenance Task | How to Do It |
| Cleaning | Use mild soap and water, rinse gently |
| Drying | Air dry in shade, avoid direct sunlight |
| Storage | Store in a dry place, avoid folding on repairs |
| Inspection | Check repairs before and after each trip |
| Handling | Handle mesh carefully to prevent pulling or tearing |
Credit: www.pomoly.com
When To Replace Tent Mesh
Tent mesh protects you from bugs and keeps air flowing. It can tear or wear out over time. Knowing when to replace it helps keep your tent useful and comfortable.
Some damage can be fixed with patches or sewing. Other damage means the mesh must be replaced. Check your tent mesh often for any problems.
Assessing Damage Severity
Look closely at the mesh to find holes, tears, or worn spots. Small holes can let insects inside. Large tears make the mesh useless. Check how big the damage is and if it spreads.
- Small holes less than half an inch can be patched
- Multiple small tears weaken the mesh
- Large holes or rips over two inches need replacement
- Frayed edges show the mesh is wearing out
- Discoloration or thinning fabric means less protection
Signs Repair Is No Longer Effective
Sometimes repairs do not hold or look messy. If patches fall off or stitching breaks, the mesh will fail again. Old repairs make the mesh weak and unsafe.
| Repair Issue | Reason to Replace |
| Repeated patch failures | Mesh loses strength |
| Large patched areas | Less air flow and durability |
| Mesh tearing around repairs | Damage spreads quickly |
| Stitching coming undone | Repairs are not lasting |
Credit: www.amazon.com
Frequently Asked Questions
How Do I Fix Small Holes In Tent Mesh?
Use a patch kit or mesh repair tape to cover small holes. Clean the area first. Apply the patch firmly. Let it dry completely before use.
What Materials Are Best For Repairing Tent Mesh?
Nylon mesh patches and strong adhesive tapes work best. They match tent mesh texture and provide durability. Avoid heavy materials that block airflow.
Can I Sew A Torn Tent Mesh By Hand?
Yes, use a fine needle and strong thread. Sew gently to avoid enlarging the tear. Reinforce edges with a patch for extra strength.
How Long Does A Tent Mesh Repair Last?
With proper materials and care, repairs can last for seasons. Avoid rough handling and excessive stretching to extend repair life.
Conclusion
Repairing tent mesh is simple with the right steps. Start by gathering tools like tape and glue. Clean the damaged area thoroughly. Apply the patch carefully, ensuring it sticks well. Let it dry completely before using the tent again. Practice makes it easier over time.
A well-repaired tent offers comfort and protection. So, next camping trip, enjoy the outdoors without worry. With these tips, your tent will last longer, saving money and resources. Happy camping!