
If you own an RV, you know how important it is to stay cool during those hot summer trips. Your RV air conditioner is your best friend when the temperatures rise, but like any machine, it needs regular care to work at its best.
Imagine being stuck in the heat because your AC suddenly stops cooling—that’s the last thing you want. By learning how to service your RV air conditioner yourself, you can avoid costly repairs and stay comfortable no matter where the road takes you.
Keep reading, and you’ll discover simple steps that anyone can follow to keep your RV’s AC running smoothly all season long.
Signs Your Rv Ac Needs Servicing
Reduced cooling efficiencymeans your RV AC is not blowing cold air like before. This can happen because of dirty filters or low refrigerant. It makes the inside uncomfortable on hot days.
Unusual noisessuch as rattling, buzzing, or grinding sounds often signal a problem. These noises can come from loose parts or a failing motor. Ignoring them can lead to bigger issues.
Water leaks and dripsaround the AC unit show that the drainage system is clogged or broken. Water buildup can damage the RV’s interior and cause mold growth if not fixed quickly.
Foul odorscoming from the AC vents may mean mold or mildew inside the system. This happens when moisture stays trapped in the unit. It can make the air unhealthy to breathe.

Credit: northnjhvac.com
Tools And Materials Required
Basic cleaning supplies include cloths, brushes, and mild detergent. They help remove dirt and dust from the air conditioner parts. A vacuum cleaner may also be useful to clear debris from vents and filters.
Screwdrivers and wrenches are essential for opening panels and tightening screws. Different sizes help work on various parts of the unit safely and easily.
A fin comb straightens bent fins on the condenser coils. This helps air flow smoothly. Coil cleaner is used to remove stubborn dirt and grime from the coils, improving cooling efficiency.
Replacement parts like filters, fuses, and fan belts should be on hand. These parts wear out over time and need quick swapping to keep the unit running well.
Preparing Your Rv Ac For Service
Safetyis the first priority before servicing your RV air conditioner. Always turn off the powerto avoid electric shocks or damage. Locate the main power switch or unplug the unit from the power source.
Accessing the unit requires care. Remove any covers or panels gently. Keep screws and parts safe for reassembly. Use a sturdy ladder if the unit is on the roof. Avoid standing on unstable surfaces.
- Check that the power is fully off before touching anything.
- Wear gloves to protect your hands from sharp edges.
- Use proper tools to avoid damaging the AC unit.
- Keep the work area clean and free of obstacles.
Cleaning The Air Filters
Start by carefully pulling the air filters out of the RV air conditioner. Be gentle to avoid damage. Check the filters for dirt and debris.
Wash the filters using warm water and mild soap. Avoid harsh chemicals that can harm the material. Rinse thoroughly to remove all soap. Let the filters air dry completely. Do not use heat or direct sunlight to speed drying.
Once dry, slide the filters back into their original place. Make sure they fit snugly and securely. Proper installation helps the air conditioner work well and keeps the air clean.
Cleaning The Evaporator And Condenser Coils
Remove all visible debrislike leaves and dirt from the coils. Use a soft brush or vacuum cleaner to avoid damage. Clear the area around the coils for better airflow.
Spray a coil cleanerevenly on the evaporator and condenser coils. Let it sit for 10-15 minutes to break down dirt and grime. Rinse thoroughly with water but avoid soaking electrical parts.
Check the coil fins for any bends or damage. Use a fin combor a small flat tool to gently straighten bent fins. This helps improve air movement and cooling efficiency.
Checking And Clearing The Drain Line
The drain lineis usually near the air conditioner unit inside the RV. It carries water outside to stop leaks inside.
Check the drain line for dirt or blockages. Dirt can stop water from flowing. Use a thin wire or a pipe cleaner to remove clogs. Gently push it through the tube to clear any dirt.
To make sure the water flows well, pour some water into the drain line. Water should come out easily outside. If it does not, clean the line again or check for damage.
- Locate the drain line near the AC unit.
- Use a wire to clear dirt and clogs.
- Pour water to test if it drains well.
- Repeat cleaning if water does not flow.
Inspecting Electrical Connections
Check the wiringand terminalsfor any signs of wear or damage. Loose or frayed wires can cause the air conditioner to stop working.
Tighten any loose connectionsusing a screwdriver. Loose connections can create sparks or stop the unit from running properly. Make sure all wires are secure and snug.
Replace any damaged componentslike broken wires or burnt terminals. Using damaged parts can be unsafe and reduce the unit’s performance.
Testing The Thermostat And Controls
Calibrating temperature settings ensures your RV air conditionercools properly. Use a reliable thermometer to check the room temperature. Set the thermostat to a specific temperature and wait a few minutes. Compare the actual room temperature with the thermostat setting. Adjust the thermostat if the difference is more than 2°F (1°C). This helps keep your RV comfortable.
Verifying control functionality is important for safe and smooth operation. Test all buttons and switches to confirm they respond well. Check the fan speed settings and mode changes. Look for any stuck or broken controls. Replace or fix faulty parts to avoid future issues. Regular testing keeps your air conditioner working efficiently.
Reassembling And Final Checks
Secure all panels tightly to prevent air leaks and protect internal parts. Use the correct screws and check each panel fits well. Loose panels can cause noise or damage.
Turn on the RV air conditioner and watch it closely. Listen for unusual sounds or vibrations. Check if the air blows cold and steady. Monitor the thermostat to ensure it works properly.
Adjust settings for the best cooling performance. Set the fan speed and temperature to comfortable levels. Clean or replace filters if airflow feels weak. Regular checks keep the unit running smoothly.
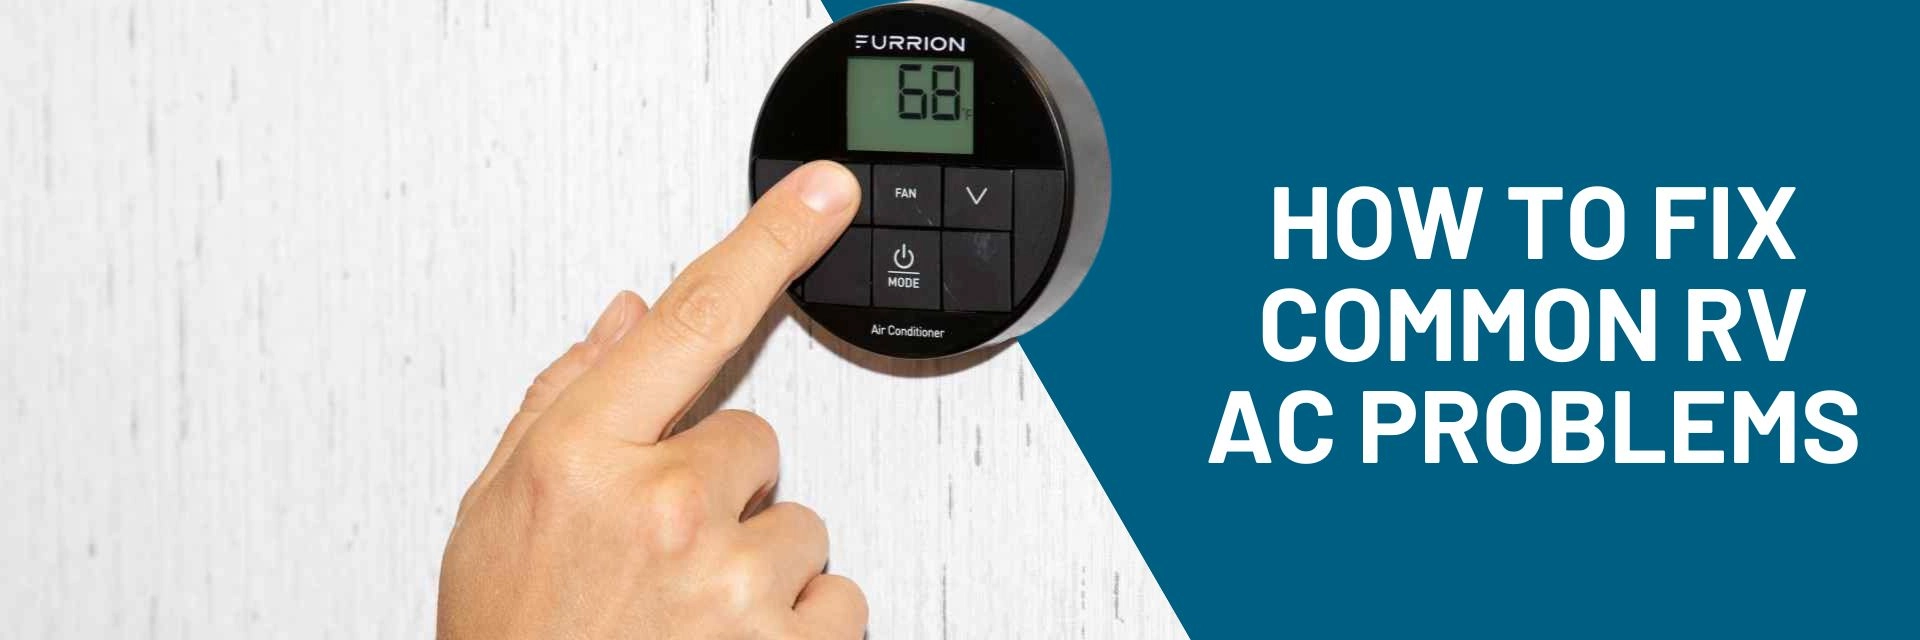
Credit: www.lippert.com
Regular Maintenance Tips
Keep your RV air conditioner running smoothly with regular checks. Clean or replace the air filter every few months. Dust and dirt block airflow and lower cooling power. Check the drain pan and drain lineto avoid water buildup. Clear any clogs to stop leaks and bad smells.
Test the thermostat and controls to ensure they work well. Tighten loose wires and connections to prevent electrical issues. Clean the condenser coils; dirty coils cause the unit to work harder and waste energy. Use a soft brush or low-pressure water spray for cleaning.
| Season | Maintenance Tasks |
|---|---|
| Spring | Clean filters, check thermostat, inspect coils |
| Summer | Monitor cooling performance, clean drain line |
| Fall | Clear debris, test controls, tighten wires |
| Winter | Cover unit, inspect for damage |
- Keep vents clear of dirt and leaves.
- Use a cover during storage to protect from weather.
- Avoid running the unit with a dirty filter.
- Check for unusual noises or leaks.
Call a professional if you see refrigerant leaks or the AC stops cooling well. Strange smells, frequent cycling, or electrical problems also need expert help. Early repairs can save costly damage later.
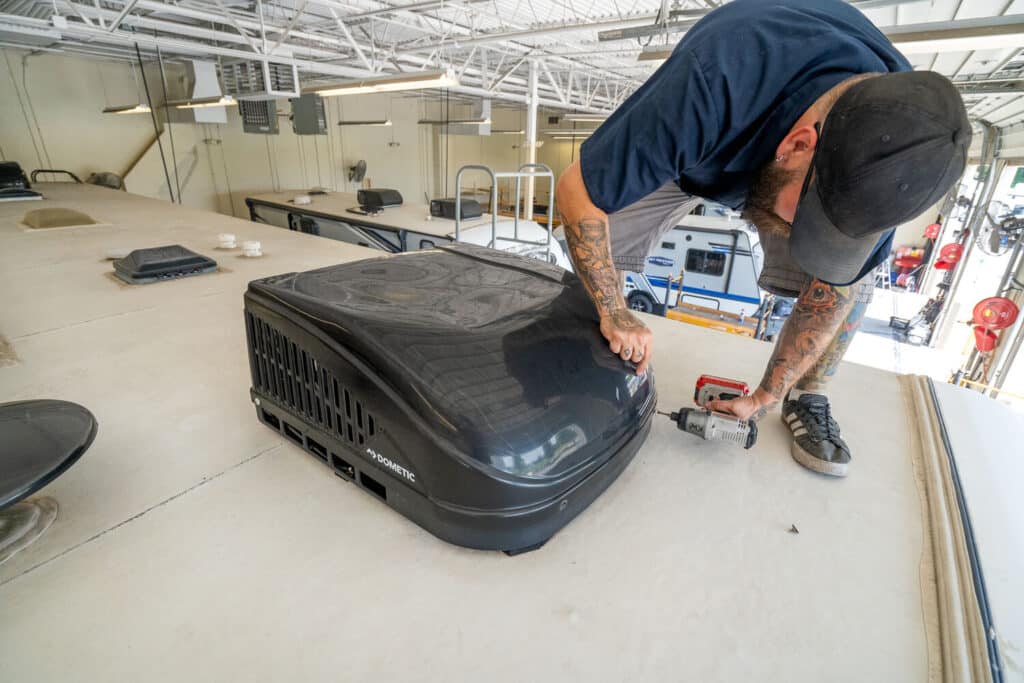
Credit: blog.campingworld.com
Frequently Asked Questions
How Often Should I Service My Rv Air Conditioner?
You should service your RV air conditioner at least once a year. Regular maintenance ensures efficient cooling and prevents costly repairs. Check filters, clean coils, and inspect electrical connections to keep your unit running smoothly.
What Tools Do I Need To Service An Rv Ac?
Basic tools include a screwdriver, fin comb, coil cleaner, and a soft brush. You may also need a vacuum cleaner and replacement filters. These tools help you clean and maintain your RV air conditioner’s components effectively.
How Do I Clean The Rv Air Conditioner Filters?
Remove the filters and gently vacuum to remove dust. Wash them with mild soap and water, then let them dry completely before reinstalling. Clean filters improve airflow and enhance cooling efficiency in your RV air conditioner.
Can I Service My Rv Ac Myself Safely?
Yes, you can service your RV AC safely by following the manufacturer’s guidelines. Always disconnect power before starting and avoid damaging delicate parts. If unsure, consult a professional to prevent injury or damage to your unit.
Conclusion
Servicing your RV air conditioner keeps it efficient. Regular maintenance prevents costly repairs. Clean filters and coils ensure cool, fresh air. Check for loose parts to avoid noise and damage. Simple steps extend your air conditioner’s life. Enjoy comfortable trips without worry.
Always follow the manufacturer’s guidelines. Safe practices protect your investment. Confidently handle basic service tasks yourself. Save money and stay cool on the road. Keep your RV’s air conditioner in top shape. Happy travels!