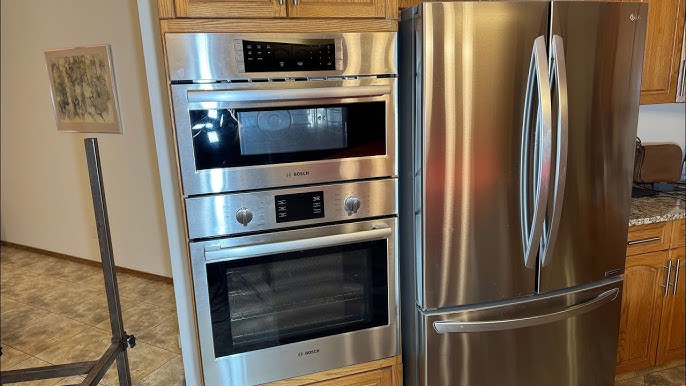
Thinking about removing your wall oven but not sure where to start? You’re in the right place.
Taking out a wall oven might seem tricky, but with the right steps, you can do it safely and easily. Imagine the relief of handling the job yourself without waiting for a technician or spending extra money. In this guide, you’ll discover clear, simple instructions that anyone can follow.
Ready to take control and get the job done right? Keep reading, and you’ll have your wall oven out before you know it.
Prepare The Work Area
Removing a wall oven needs a clean and safe workspace. Preparing the area helps prevent accidents and damage.
Follow these steps to get ready before you start taking out the oven.
Clear Surrounding Space
Remove furniture and other items near the oven. Give yourself plenty of room to work and move the oven out safely.
- Take away kitchen chairs or stools close to the wall oven.
- Clear the countertop next to the oven for tools and parts.
- Keep the floor free of rugs or mats to avoid tripping.
- Make sure pets and children stay out of the area.
Gather Necessary Tools
Have all the tools ready before you start. This saves time and keeps the process smooth.
| Tool | Purpose |
|---|---|
| Screwdriver (Phillips and flathead) | Remove screws holding the oven |
| Voltage tester | Check if power is off |
| Wrench or pliers | Disconnect electrical connections |
| Flashlight | See inside dark spaces |
| Gloves | Protect hands from sharp edges |
Turn Off Power Supply
Safety is key. Switch off the power to avoid electric shock while removing the oven.
Follow these safety tips to turn off power:
- Locate the circuit breaker panel.
- Find the breaker labeled for the wall oven.
- Switch off the breaker completely.
- Use a voltage tester to confirm no power is present.
- Do not skip this step even if unsure.
Credit: www.searspartsdirect.com
Disconnect The Oven
Before removing a wall oven, you must disconnect it safely. This prevents electric shock and damage.
Follow these steps to disconnect your oven properly before removal.
Unplug The Oven
Check if your oven has a plug. Many wall ovens plug directly into a power outlet.
Unplug the oven by pulling the plug from the wall socket. Do not yank the cord.
Shut Off Circuit Breaker
Find your home’s circuit breaker panel. Locate the breaker for your oven.
Switch off the circuit breaker to cut power to the oven. This stops electrical flow safely.
- Label the breaker if it is not already marked
- Test that the oven has no power by trying to turn it on
- Do not skip this step even if you unplug the oven
Remove Electrical Connections
After power is off, open the oven’s access panel. This is usually at the back or bottom.
Disconnect wires connected to the oven carefully. Use a screwdriver if needed.
- Take note of wire positions or take a photo
- Use insulated tools to avoid shocks
- Secure loose wires to prevent damage
Remove Oven Trim And Screws
Taking out a wall oven starts with removing the trim and screws. This lets you access the mounting bolts that hold the oven in place.
Use simple tools like a screwdriver to carefully remove these parts. Always be gentle to avoid damaging your kitchen.
Take Off Outer Trim
The outer trim covers the edges of your wall oven. It keeps the oven snug inside the cabinet.
To remove the trim, look for screws or clips around the oven frame. Use a screwdriver to loosen and take them out.
- Locate screws along the trim edges
- Use a screwdriver to remove all screws
- Carefully pull the trim away from the oven
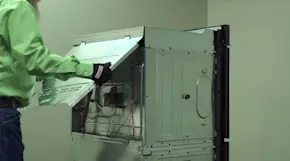
Locate And Unscrew Mounting Bolts
Mounting bolts hold the oven inside the wall cabinet. Find them by looking inside the space where the trim was.
Use a wrench or screwdriver to unscrew each bolt. Keep the bolts safe if you want to reinstall the oven later.
- Look for bolts on the oven sides or top
- Use the correct tool for the bolt type
- Turn bolts counterclockwise to remove
- Keep bolts in a container for safekeeping
Credit: www.searspartsdirect.com
Slide Out The Oven
Removing a wall oven requires care and attention. Sliding the oven out carefully prevents damage.
This guide explains how to slide out the oven safely in two easy steps.
Support Oven Weight
Wall ovens are heavy and need support before sliding out. Use sturdy hands or helpers to hold the oven.
Failing to support the weight can cause injury or damage to the wall and oven.
- Wear gloves for a better grip
- Ask someone to help if the oven is heavy
- Hold the oven firmly from both sides
- Keep the oven level while sliding
Gently Pull Oven From Wall
Pull the oven out slowly to avoid sudden movements. Check for any cables or screws that might catch.
If you feel resistance, stop and inspect. Gently pull until the oven is fully free from the wall.
- Pull straight out, do not twist
- Watch for electrical wires behind the oven
- Place the oven on a soft surface once removed
Handle And Store The Oven Safely
Taking out a wall oven requires care to avoid damage or injury. You need to handle it safely and store it properly after removal.
Following safe lifting techniques and protecting the oven during storage keeps it in good condition for future use or disposal.
Use Proper Lifting Techniques
Ovens are heavy and bulky. Lift with your legs, not your back. Keep your back straight and bend your knees.
Get help if the oven is too heavy. Carry it close to your body to maintain balance.
- Stand close to the oven before lifting
- Bend knees and keep feet shoulder-width apart
- Lift slowly using leg muscles
- Hold the oven firmly and close to your body
- Ask for help if needed
Place Oven On Protective Surface
After removing the oven, put it on a soft, flat surface. This prevents scratches and damage to the oven and floor.
Use blankets, cardboard, or foam pads to cushion the oven. Avoid placing it on hard or uneven ground.
- Find a flat area free of sharp objects
- Lay down blankets or foam pads
- Gently set the oven down on the protective layer
- Keep the oven upright to avoid internal damage
- Cover the oven to protect it from dust
Clean And Inspect The Wall Opening
After removing a wall oven, it’s important to clean and inspect the wall opening. This ensures the area is safe and ready for the next appliance.
A thorough inspection can prevent future issues and maintain the integrity of your kitchen space. Follow these steps to ensure a clean and damage-free wall opening.
Remove Debris
Debris can accumulate around the wall opening after removing the oven. It’s essential to clear it out for a safe installation of a new appliance.
- Use a vacuum to remove dust and small particles.
- Wipe down surfaces with a damp cloth to pick up remaining dirt.
- Dispose of any large debris or broken pieces safely.
Check For Damage
Inspect the wall opening for any signs of damage. This step is crucial to ensure the stability of your next installation.
| Potential Issue | Action Required |
| Cracks in the wall | Fill with wall filler |
| Loose wires | Consult an electrician |
| Damaged insulation | Replace insulation |
Credit: www.whirlpool.com
Frequently Asked Questions
How Do I Safely Disconnect A Wall Oven?
First, turn off the power at the circuit breaker. Then, unplug the oven or disconnect the wiring. Always use a voltage tester to confirm no electricity flows before proceeding.
What Tools Are Needed To Remove A Wall Oven?
You typically need a screwdriver, voltage tester, and possibly a wrench. These tools help safely detach the oven from its mount and electrical connections.
Can I Remove A Wall Oven Without Professional Help?
Yes, if you have basic electrical knowledge and proper tools. Always ensure power is off and follow safety guidelines to avoid hazards.
How Do I Avoid Damaging Cabinets When Removing A Wall Oven?
Use protective padding around cabinet edges. Remove mounting screws carefully and gently pull the oven out to prevent scratches or dents.
Conclusion
Taking out a wall oven can seem tricky but stays simple with the right steps. Always turn off power and gas before starting. Use basic tools and work slowly to avoid damage. Ask for help if the oven feels too heavy.
Following safety tips keeps you safe during the process. Now, you can remove your wall oven with confidence and care.