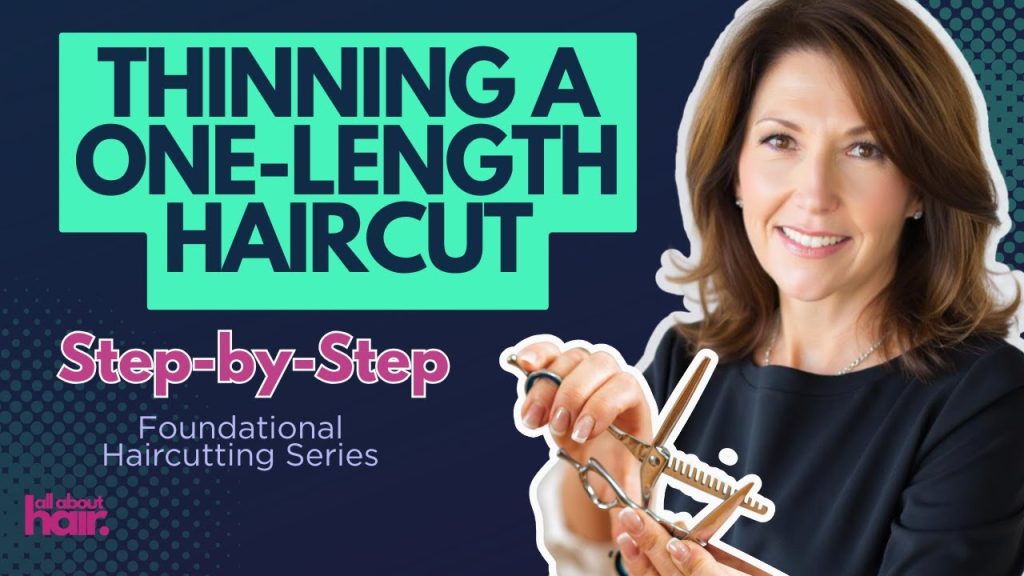
If you’ve ever struggled with thick, heavy long hair that feels impossible to manage, thinning shears might be the secret tool you need. Using them correctly can make your hair lighter, more manageable, and give it a natural flow without losing length.
But if you’re unsure how to use thinning shears the right way, you might end up with uneven cuts or damage. In this guide, you’ll discover simple, step-by-step tips to master thinning shears on your long hair and achieve that perfect, effortless look you’ve been wanting.
Keep reading—you’re about to unlock a game-changer for your hair routine.
Choosing The Right Thinning Shears
Thinning shears help reduce bulk in long hair without changing its length. Choosing the right ones makes the job easier and results better.
Different thinning shears work best for different hair types and styles. It is important to pick the right type, size, and quality.
Types Of Thinning Shears
There are several types of thinning shears. Each type cuts hair differently and suits different needs.
- Notched Shears: Have teeth on one blade to remove some hair strands.
- Chunker Shears: Have wider teeth for removing more bulk quickly.
- Texturizer Shears: Have fewer teeth for subtle blending and texturing.
Blade Size And Teeth Count
Blade size affects how much hair the shears cut at once. Teeth count affects how fine the thinning looks.
- Smaller blades give more control for detailed work.
- Larger blades cover more area for faster thinning.
- More teeth create finer, softer thinning.
- Fewer teeth remove more hair with each cut.
Material And Quality
Good quality shears last longer and cut better. The material used affects sharpness and durability.
- Stainless steel is common and resists rust well.
- Japanese steel is strong and stays sharp longer.
- Look for smooth edges to protect hair from damage.
- Comfortable handles reduce hand fatigue during use.

Credit: jatai.net
Preparing Long Hair For Thinning
Thinning long hair requires good preparation to get the best results. Proper care before using thinning shears helps prevent damage and uneven cuts.
Focus on washing, drying, sectioning, and gathering the right tools before you start thinning your hair.
Washing And Drying Techniques
Clean hair is easier to work with when thinning. Use a gentle shampoo and conditioner to keep hair smooth and soft. Avoid heavy products that weigh hair down.
- Rinse hair with lukewarm water to avoid dryness.
- Apply conditioner mainly on the ends to prevent oiliness at the roots.
- Gently towel dry hair to reduce frizz and breakage.
- Use a wide-tooth comb to detangle hair while damp.
- Let hair air dry or use a blow dryer on low heat.
Sectioning Hair Properly
Dividing hair into sections helps you thin evenly. It makes the thinning process easier and more controlled.
| Section | Description |
|---|---|
| Top | Part the hair from ear to ear across the crown. |
| Sides | Divide hair from the temples down to behind the ears. |
| Back | Split the hair at the nape into two or three parts. |
| Front | Separate the fringe or bangs area if present. |
Tools Needed For Preparation
Having the right tools ready makes thinning safe and effective. Use clean and sharp items to avoid hair damage.
- Thinning shears with sharp blades
- Wide-tooth comb for detangling
- Hair clips or sectioning clips
- Spray bottle with water to keep hair damp
- Mirror to check all angles
Basic Thinning Techniques
Thinning shears help reduce hair bulk and add texture. They work best on long hair by making it lighter and easier to style.
Using thinning shears takes practice. This guide covers how to hold the shears, the right angle to use, and how much hair to thin.
How To Hold Thinning Shears
Hold thinning shears like regular scissors. Place your thumb in the bottom ring and your ring finger in the top ring. Keep your index and middle fingers on the handle for control.
- Hold shears comfortably to avoid hand strain.
- Keep your wrist straight while cutting.
- Use slow, gentle motions to avoid mistakes.
Angle And Placement On Hair
Place thinning shears at a slight angle to the hair shaft. This angle allows the blades to cut some strands without cutting all of them.
A good angle is about 45 degrees. Avoid placing shears too close to the scalp to prevent uneven cuts.
| Angle | Effect |
|---|---|
| 30 degrees | Light thinning, subtle texture |
| 45 degrees | Balanced thinning, natural look |
| 60 degrees | More thinning, noticeable layering |
Amount Of Hair To Thin
Do not thin too much hair at once. Thin small sections to keep control and avoid damage.
- Start with thin sections about 1 inch wide.
- Make one or two cuts per section.
- Check the hair weight after each cut.
- Repeat if more thinning is needed.

Credit: www.youtube.com
Advanced Thinning Tips
Thinning shears help shape long hair by removing bulk. Using them well can create a natural look and control volume.
These tips guide you through advanced ways to use thinning shears on long hair. They focus on layering, blending, and avoiding mistakes.
Layering For Volume Control
Use thinning shears to soften layers and reduce thick spots. Cut small sections at an angle to keep shape and flow.
Work from the ends upward. This removes weight without making the hair look thin or uneven.
- Pick sections 1-2 inches wide
- Close shears halfway for softer thinning
- Cut at a slight angle to blend layers
- Check hair by shaking or combing often
Blending Thick Areas
Thick hair can create uneven bumps. Use thinning shears inside thick spots to blend them smoothly.
Cut little by little to avoid removing too much hair. This keeps the hair looking natural and soft.
- Focus on dense patches only
- Open and close shears slowly
- Use vertical cuts for subtle blending
- Comb hair often to see changes
Avoiding Over-thinning
Over-thinning makes hair look thin and flat. Use thinning shears with care and avoid cutting too close to the scalp.
Limit thinning to 10-15% of hair in one area. Stop and check the look before cutting more.
- Thin only dry hair to see true volume
- Work slowly and in small sections
- Keep shears clean and sharp
- Stop if hair looks too thin or weak
Common Mistakes To Avoid
Using thinning shears on long hair can help reduce bulk and add texture. Many people make mistakes that cause uneven cuts or damage.
Knowing what to avoid will help you get better results and keep hair healthy.
Thinning Too Close To Roots
Cutting too near the roots makes hair look thin and patchy. It can also cause the hair to grow unevenly.
Thinning shears work best when used a little away from the scalp to blend the hair smoothly.
- Start thinning at least one inch from the roots
- Use light pressure to avoid cutting too much
- Check your work by letting hair fall naturally
Using Shears On Damaged Hair
Thinning damaged hair can make split ends worse. Damaged hair is fragile and breaks easily.
Avoid using thinning shears on hair that is very dry, brittle, or chemically treated without care.
- Check hair condition before thinning
- Trim split ends first with regular scissors
- Use moisturizing treatments to improve hair strength
Neglecting Hair Texture
Every hair type reacts differently to thinning shears. Ignoring hair texture can lead to unwanted results.
Fine hair may become too thin, while thick hair might not thin out enough if not done correctly.
- Use fewer cuts on fine hair to avoid over-thinning
- Make more cuts on thick hair for better blending
- Consider natural curl or wave when thinning

Credit: jatai.net
Maintaining And Cleaning Shears
Thinning shears need care to work well and last long. Cleaning and maintenance keep them sharp and safe.
Proper care also helps you cut hair smoothly without pulling or damage.
Regular Cleaning Routine
After each use, wipe your shears with a soft cloth. This removes hair and oils from the blades.
Use rubbing alcohol or blade cleaner to disinfect the shears. This stops rust and germs.
- Open shears and clean between blades
- Dry them well to prevent moisture build-up
- Apply a drop of oil to the pivot point
Sharpening Tips
Dull shears do not cut well and can pull hair. Sharpen them regularly to keep edges clean.
Use a professional sharpener or take shears to a specialist. Avoid sharpening at home unless skilled.
- Check sharpness often by cutting small hair sections
- Sharpen blades when cuts feel rough or uneven
- Do not over-sharpen to keep blade shape intact
Proper Storage
Store your thinning shears in a clean, dry place. This protects blades from damage and rust.
Use a case or pouch to avoid dropping or scratching the shears. Keep them away from moisture.
- Keep shears closed and locked if possible
- Store separately from other tools to avoid damage
- Do not leave shears in humid or wet areas
Frequently Asked Questions
What Are Thinning Shears Used For On Long Hair?
Thinning shears remove bulk and add texture without shortening hair length. They help create a softer, natural look and reduce heaviness.
How Do I Properly Hold Thinning Shears?
Hold thinning shears like regular scissors, with your thumb and ring finger. Keep your hand steady and open the blades gently for precise cuts.
When Should I Use Thinning Shears On Long Hair?
Use thinning shears after the main haircut to blend layers or reduce thickness. Avoid overusing to prevent uneven texture or frizziness.
Can Thinning Shears Damage Long Hair?
If used incorrectly, thinning shears can cause split ends or uneven texture. Use them sparingly and follow proper technique to maintain healthy hair.
Conclusion
Thinning shears help reduce bulk and add texture to long hair. Use them carefully to keep your hair looking natural and healthy. Take small sections and work slowly for best results. Avoid cutting too much at once to prevent unevenness.
Practice often to improve your technique and confidence. With patience, you can achieve a soft, blended look. Enjoy the feeling of lighter, more manageable hair every day.