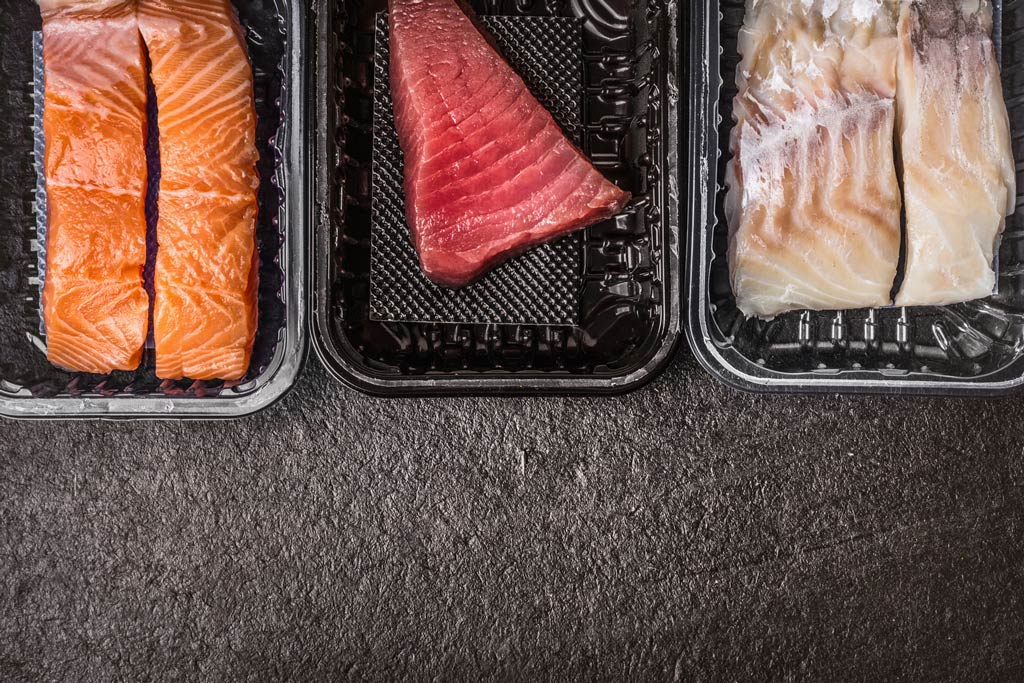
Have you ever wondered how to keep your salmon fresh for longer, without sacrificing its flavor and nutrients? Vacuum sealing might just be the solution you’ve been looking for.
This simple yet effective method can transform the way you store your salmon, keeping it delicious and ready for your next culinary adventure. Imagine opening your freezer to find your salmon fillets as fresh as the day you bought them.
You’ll save money, reduce waste, and enjoy the taste of perfectly preserved fish every time. Intrigued? Let’s dive into the step-by-step process of vacuum sealing salmon, and discover how you can elevate your kitchen game today.
Benefits Of Vacuum Sealing Salmon
Vacuum sealing salmon offers several benefits that make it a smart choice for storage. It helps keep the fish fresh and tasty for longer. The process removes air, which slows down spoilage and preserves quality. Here are some key benefits of vacuum sealing salmon.
Preserving Freshness
Vacuum sealing removes oxygen that causes fish to spoil. This keeps salmon fresh and firm for days. The seal prevents bacteria and mold from growing. It also stops the fish from drying out or losing moisture. Freshness lasts longer compared to regular storage methods.
Enhancing Flavor
The vacuum seal locks in natural juices and oils. This helps salmon keep its rich, delicate taste. Flavors stay vibrant and stronger over time. Vacuum sealing also prevents the fish from absorbing other odors in the fridge. Each bite remains flavorful and fresh.
Extending Shelf Life
Vacuum sealed salmon lasts much longer than non-sealed fish. It can stay safe to eat for weeks in the refrigerator. Freezing vacuum sealed salmon prevents freezer burn and preserves texture. This extends shelf life without losing quality. Less waste and more savings result from longer storage.
Preparing Salmon For Sealing
Preparing salmon for vacuum sealing ensures freshness and flavor last longer. Proper preparation prevents freezer burn and preserves texture. Follow these key steps before sealing your fish.
Selecting Quality Salmon
Choose fresh salmon with bright color and firm flesh. Avoid fish with dull eyes or a strong fishy smell. Wild-caught salmon often offers better taste and texture. Look for cuts with even fat marbling for moistness.
Cleaning And Drying
Rinse the salmon gently under cold water to remove any debris. Pat dry with paper towels to remove excess moisture. Dry fish seals better and prevents ice crystals from forming. Make sure all surfaces are dry before packing.
Portioning The Fish
Cut salmon into portions that match your future use. Smaller pieces freeze and thaw evenly, reducing waste. Use a sharp knife for clean, smooth cuts. Avoid stacking pieces tightly to maintain shape during sealing.
Choosing The Right Vacuum Sealer
Choosing the right vacuum sealer is key to preserving salmon’s freshness and flavor. The right machine can prevent freezer burn and keep your fish safe for longer. Not all vacuum sealers work the same. Some suit seafood better than others. Understanding the types, features, and bags will help pick the best option for your needs.
Types Of Vacuum Sealers
- External Sealers:Compact and easy to use. Great for light home use.
- Chamber Sealers:Ideal for moist foods like salmon. They remove air from the entire chamber.
- Handheld Sealers:Portable but less powerful. Best for small bags and snacks.
Recommended Features For Seafood
- Adjustable Seal Time:Prevents crushing delicate salmon fillets.
- Moist Food Mode:Seals properly without drawing liquid into the machine.
- Strong Suction Power:Removes more air for better preservation.
- Easy-to-Clean Design:Keeps the machine hygienic after sealing raw fish.
Choosing Suitable Bags
- Food-Grade Material:BPA-free and safe for raw fish storage.
- Thick and Durable:Prevents punctures from salmon bones.
- Textured Surface:Helps air removal and creates a tight seal.
- Compatible Size:Fits your vacuum sealer and salmon portions well.

Credit: avidarmor.com
Step-by-step Vacuum Sealing Process
Vacuum sealing salmon locks in freshness and flavor, extending its shelf life significantly. Understanding the precise steps makes the process smooth and effective. Let’s dive into the details of the vacuum sealing process, so you get perfect results every time.
Setting Up The Sealer
Begin by placing your vacuum sealer on a clean, dry surface near an outlet. Plug it in and turn it on to let it warm up if your model requires it. Make sure you have the right bags designed for vacuum sealing, as regular plastic bags won’t work properly.
Check your sealer’s manual for any specific instructions or settings tailored for moist foods like salmon. Some machines have a “moist” mode that prevents liquid from being sucked into the vacuum chamber.
Placing Salmon In The Bag
Cut a vacuum bag slightly larger than the salmon fillet to allow enough space for sealing. Place the salmon flat inside the bag, ensuring it lies evenly without folding or bunching. This helps maintain the fish’s shape and prevents uneven sealing.
If you want, season or add marinades before sealing, but be cautious with liquids as too much can interfere with the vacuum process. Pat the salmon dry with paper towels to reduce excess moisture that might block the seal.
Removing Air And Sealing
Position the open end of the bag into the vacuum sealer’s sealing strip. Make sure the edge is clean and dry for a strong seal. Close the lid firmly and activate the vacuum and sealing process according to your machine’s instructions.
Watch the sealer remove all air—this tightens the bag around the salmon, preventing freezer burn and bacteria growth. Once sealed, let the machine finish its cycle completely before opening to avoid breaking the seal.
Double Sealing Tips
For extra security, seal your salmon bag twice by running the sealing strip again just above the first seal. This is especially useful if you plan to freeze the salmon for extended periods. A second seal reduces the risk of leaks and keeps the fish fresher.
Make sure to leave a small gap between the two seals to avoid melting the plastic unevenly. Have you noticed how a double seal gives you peace of mind when storing seafood? It’s a simple step that saves you from disappointment later.
Storing Vacuum-sealed Salmon
Storing vacuum-sealed salmon properly keeps it fresh longer. The sealing process removes air, slowing bacteria growth. This extends the fish’s shelf life in the fridge or freezer. Correct storage also preserves the salmon’s texture and flavor.
Refrigeration Guidelines
Keep vacuum-sealed salmon in the coldest part of the fridge.
- Store at or below 38°F (3°C).
- Use within 5 days for best freshness.
- Check the seal for any air leaks before storing.
- Place on a plate or tray to catch any drips.
Do not open the seal until ready to cook. This prevents contamination and keeps the fish fresh.
Freezing Tips
Freeze vacuum-sealed salmon to extend storage time up to 6 months.
- Label packages with date before freezing.
- Freeze salmon flat to save space and ensure even freezing.
- Keep freezer temperature at 0°F (-18°C) or lower.
- Thaw in the fridge overnight before use.
Avoiding Freezer Burn
Freezer burn dries out salmon and affects taste. Prevent it with these tips:
- Ensure vacuum seal is tight with no air inside.
- Double wrap with freezer paper or plastic wrap if needed.
- Do not refreeze thawed salmon.
- Use within recommended freezing time to avoid quality loss.

Credit: bakedbree.com
Thawing And Using Vacuum-sealed Salmon
Thawing and using vacuum-sealed salmon properly ensures you enjoy every bit of freshness and flavor locked in during sealing. Handling it right after thawing keeps the texture firm and the taste vibrant. Let’s look at ways to thaw safely, cook creatively, and manage leftovers without waste.
Safe Thawing Methods
Thaw salmon gradually to maintain its quality and avoid bacterial growth. The best way is to move it from the freezer to the fridge and let it thaw overnight. This slow thaw keeps the texture intact and the fish safe.
If you’re in a hurry, place the sealed salmon in a bowl of cold water. Change the water every 30 minutes until the fish is thawed. Avoid warm water or leaving it at room temperature to prevent unsafe conditions.
Cooking Ideas To Maximize Flavor
Once thawed, you can cook salmon in many ways that bring out its natural richness. Try grilling it with a sprinkle of lemon and dill for a fresh, bright taste. Or pan-sear with garlic butter to add a crispy, savory layer.
Have you experimented with baking salmon in parchment paper? It steams the fish gently, locking in juices and aromas. Adding herbs or a slice of orange inside the packet can elevate the dish effortlessly.
Re-sealing Leftovers
If you don’t finish your salmon, vacuum sealing leftovers can extend their life and keep them fresh longer. Before resealing, let the salmon cool completely to avoid moisture buildup inside the bag.
Separate portions for easy future meals and remove as much air as possible when resealing. This simple habit helps you reduce waste and enjoy salmon at its best, even days later.
Common Mistakes To Avoid
Vacuum sealing salmon preserves freshness and flavor longer. Avoiding common mistakes ensures the process works well. These errors can cause spoilage or poor seals. Learning what to avoid helps keep your salmon safe and tasty.
Sealing Wet Salmon
Moisture on salmon prevents a strong vacuum seal. Water or ice crystals can block air removal. Always pat salmon dry with paper towels. Dry fish seals better and lasts longer. Wet surfaces cause bag leaks and spoilage.
Using Incorrect Bags
Not all vacuum bags suit sealing salmon. Thin or non-vacuum bags may tear easily. Use bags made for vacuum sealers only. These bags are thicker and prevent punctures. Wrong bags can break seal or let air in.
Overfilling The Bag
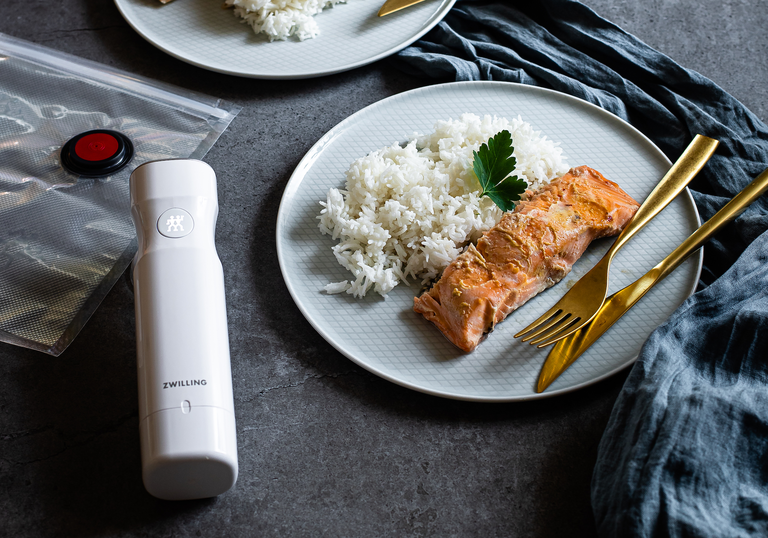
Too much salmon inside the bag causes sealing issues. Overfilled bags may not close properly. Leave space for the air to escape. Proper filling helps the vacuum remove all air. A good seal protects the salmon better.
Credit: www.zwilling.com
Frequently Asked Questions
How Long Can Vacuum-sealed Salmon Last?
Vacuum-sealed salmon can last 1-2 weeks in the refrigerator. In the freezer, it stays fresh up to 12 months. Proper sealing prevents freezer burn and preserves flavor and texture effectively.
What Is The Best Vacuum Sealer For Salmon?
Choose a vacuum sealer with strong suction and a moist/dry setting. Models like FoodSaver and NutriChef are ideal. They ensure airtight sealing and preserve salmon’s freshness and quality.
Can I Vacuum Seal Cooked Salmon?
Yes, you can vacuum seal cooked salmon. Ensure it cools completely before sealing. This method extends shelf life and keeps the fish flavorful and moist.
Should Salmon Be Frozen Before Vacuum Sealing?
Freezing salmon before vacuum sealing is optional. Fresh salmon seals well immediately. Freezing first helps maintain shape and texture, especially for delicate fillets.
Conclusion
Vacuum sealing salmon keeps it fresh longer and prevents freezer burn. It also locks in flavor and nutrients. You only need a few simple steps to do it right. This method saves money by reducing food waste. Store your salmon properly for the best taste and texture.
Give vacuum sealing a try for your next fish meal. It’s easy, effective, and helps you enjoy salmon anytime.