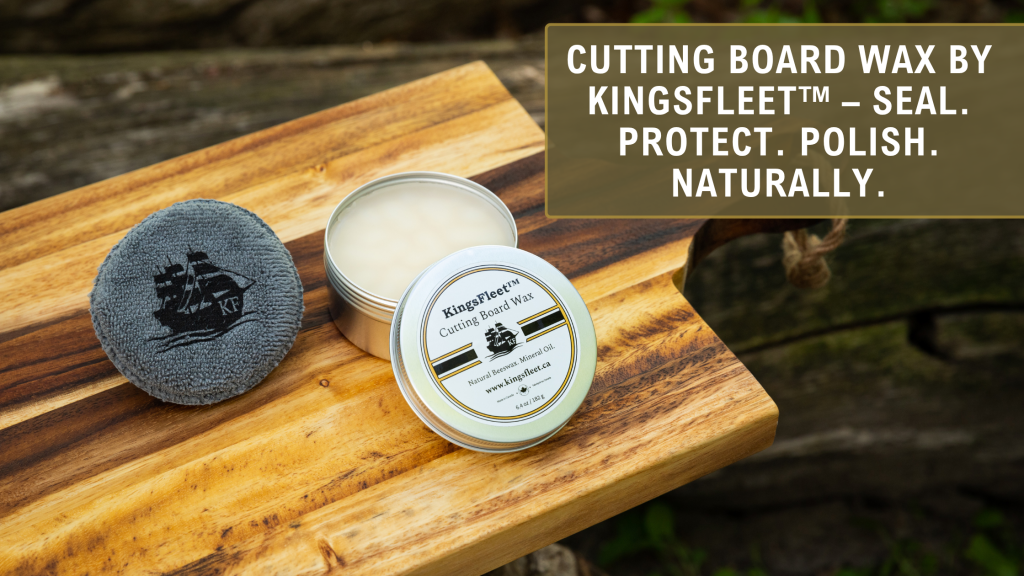
Your cutting board is more than just a kitchen tool—it’s where meals begin and memories are made. Keeping it in top shape means it stays safe, strong, and looking great for years.
Waxing your cutting board might sound tricky, but it’s actually simple and rewarding. In this guide, you’ll learn exactly how to wax your cutting board to protect it from cracks, stains, and wear. Ready to give your board the care it deserves?
Let’s dive in and make your cutting board last longer and look better than ever.
Choosing The Right Wax
Waxing a cutting board helps protect the wood and keeps it looking good. The right wax makes your board last longer.
Choosing a wax that is safe and effective is important. Not all waxes work well on cutting boards.
Types Of Wax For Cutting Boards
There are different waxes you can use on cutting boards. Each type has its own features and benefits.
- Beeswax:A natural wax from honeybees. It is safe and seals the wood well.
- Carnauba Wax:A plant-based wax that is hard and shiny. It adds a nice finish.
- Paraffin Wax:A petroleum-based wax. It is less natural but often used in blends.
- Mineral Oil and Wax Blends:These combine oils and wax for easy application and good protection.
Benefits Of Food-safe Wax
Food-safe waxes are made to be safe for contact with food. They help keep your cutting board clean and protected.
Using food-safe wax improves the board’s life and keeps it healthy for food prep.
- Prevents wood from drying out and cracking
- Creates a barrier against water and stains
- Safe if it comes in contact with food
- Keeps the board smooth and easy to clean
Preparing The Cutting Board
Before waxing your cutting board, prepare it carefully to protect the wood. Proper preparation helps the wax soak in well and keeps the board safe for food use.
Start by cleaning and drying the board. After that, smooth the surface by sanding. These steps make the waxing process effective and long-lasting.
Cleaning And Drying
Remove all food particles and stains from the cutting board. Use warm water and mild soap. Avoid soaking the board in water to prevent damage.
- Scrub the surface gently with a soft sponge
- Rinse thoroughly with clean water
- Dry the board with a clean towel
- Stand it upright to air dry completely
Sanding For Smoothness
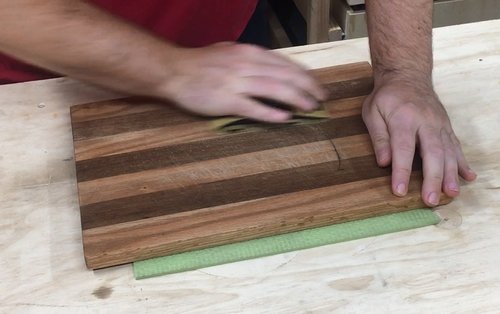
Sanding removes old stains and rough spots. It creates a smooth surface for the wax to stick well. Use fine-grit sandpaper and sand evenly.
| Sandpaper Grit | Use |
| 80-120 | Remove deep scratches and old finish |
| 150-220 | Smooth the surface and edges |
| 320 | Final smoothing before waxing |
Applying The Wax
Applying wax to a cutting board helps protect the wood and keep it smooth. This process requires care to spread the wax evenly. Proper application extends the board’s life and enhances its look.
Before applying wax, you need to melt and soften it. Then use the right techniques to cover the board completely. This guide will explain both parts clearly.
Melting And Softening The Wax
Start by warming the wax so it becomes soft and easy to spread. You can use a double boiler or a microwave on low power. Avoid overheating the wax because it can lose its quality.
- Place wax in a heat-safe container.
- Use low heat to melt it slowly.
- Stir the wax gently to even out the temperature.
- Check the wax often to prevent burning.
- Remove from heat when mostly melted but still soft.
Even Wax Application Techniques
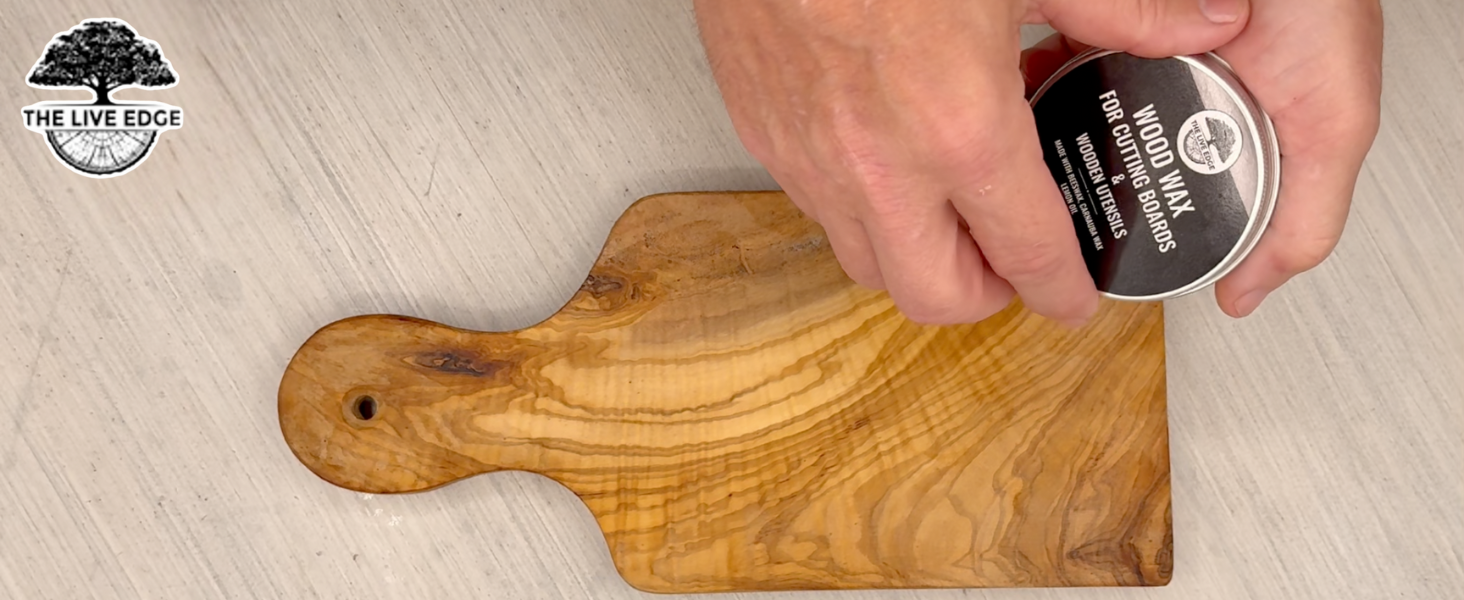
Apply the softened wax in smooth, even layers. Use a soft cloth or a brush for better control. Work with the grain of the wood to avoid streaks or patches.
| Tool | Use | Tip |
| Soft cloth | Spread wax evenly | Use circular motions for full coverage |
| Brush | Apply wax in corners | Choose a brush with soft bristles |
| Hands (gloved) | Rub wax in deeply | Press firmly but gently |
Credit: www.amazon.com
Buffing And Polishing
Buffing and polishing a cutting board after waxing helps protect the wood. It also brings out a nice shine and smooth feel. This step finishes the waxing process well.
Using the right tools and techniques makes it easier to get a smooth, polished surface. Take your time and work gently for the best result.
Tools For Buffing
Use soft, clean cloths or buffing pads to polish the wax on your board. Avoid rough materials that can scratch the wood surface.
- Microfiber cloths work well for buffing.
- Felt pads can help spread the wax evenly.
- Soft cotton rags are good for polishing.
- A buffing wheel can be used for larger boards.
Achieving A Smooth Finish
Polishing your board requires gentle pressure and circular motions. This helps the wax soak in and smooth out any rough spots.
| Buffing Step | Description |
| Apply Gentle Pressure | Press lightly to avoid removing wax. |
| Use Circular Motions | Move in circles to cover the surface evenly. |
| Buff Until Shine | Keep polishing until the board looks smooth and shiny. |
| Check for Rough Spots | Reapply wax if needed and buff again. |
Maintenance Tips
Waxing a cutting board helps protect the wood and keep it looking good. Proper care keeps your board safe for food and lasts longer.
Regular maintenance is simple and stops the wood from drying out or cracking.
When To Reapply Wax
Reapply wax when the cutting board looks dry or dull. Wax seals the wood and adds moisture.
If water no longer beads on the surface, it is time to wax again. This usually happens every few months.
- Check the board monthly for dryness
- Apply wax if water soaks in quickly
- Wax more often in dry climates
- Use a clean cloth to rub wax evenly
Daily Care For Longevity
Clean your cutting board with warm water and mild soap after each use. Avoid soaking it in water.
Dry the board well before storing. This stops mold and wood damage.
- Wipe off food scraps after use
- Never put the board in a dishwasher
- Store in a dry, well-ventilated place
- Use food-safe oil along with wax for best results
Credit: www.slightlycrookedworkshop.com

Credit: virginiaboyskitchens.com
Frequently Asked Questions
Why Should I Wax A Cutting Board?
Waxing a cutting board helps protect it from moisture and bacteria. It also enhances the board’s appearance and extends its lifespan. Regular waxing keeps the surface smooth and prevents cracking, ensuring your board remains functional and attractive for years.
How Often Should I Wax My Cutting Board?
Wax your cutting board every 3-4 weeks, depending on usage. If you use it frequently, consider waxing it more often. Regular maintenance ensures optimal protection and longevity. Check for dryness or dullness as indicators that it may be time to reapply wax.
What Type Of Wax Is Best For Cutting Boards?
Food-grade mineral oil combined with beeswax is ideal for cutting boards. This combination provides excellent protection and is safe for food contact. Ensure the product is specifically labeled for use on wooden kitchen items to avoid harmful chemicals.
Can I Use Olive Oil To Wax My Cutting Board?
Avoid using olive oil, as it can go rancid over time. Instead, use food-grade mineral oil or a commercial wood conditioner. These options are specifically designed to protect and preserve wooden surfaces without spoiling.
Conclusion
Waxing a cutting board keeps it safe and lasting longer. It stops water from soaking in and stops cracks. Use clean, dry boards before waxing for best results. Apply wax evenly and let it soak in well. Regular care keeps your board smooth and clean.
Small effort brings big benefits. Your board stays fresh and strong for every meal. Simple steps make a big difference in kitchen care.