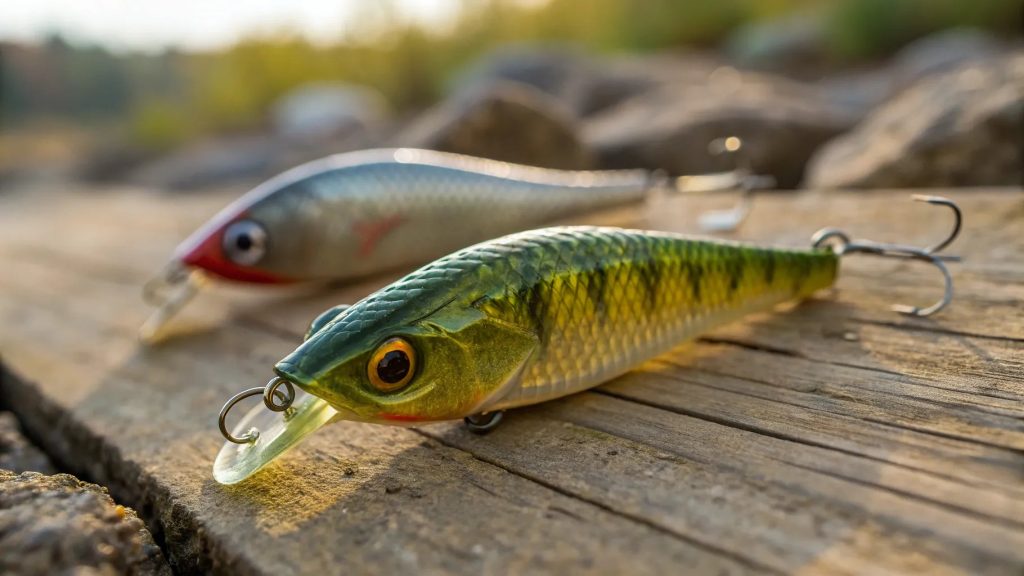
If you’ve ever wanted to create your own soft plastic fishing lures, you’re in the right place. Making your own lure molds gives you full control over shape, size, and detail—meaning you can craft exactly what you need to catch more fish.
Imagine holding a lure you made yourself, perfectly tailored to your favorite fishing spot. You’ll learn simple, step-by-step methods to make soft plastic fishing lure molds that work. Ready to turn your ideas into real, fish-catching lures? Let’s dive in.
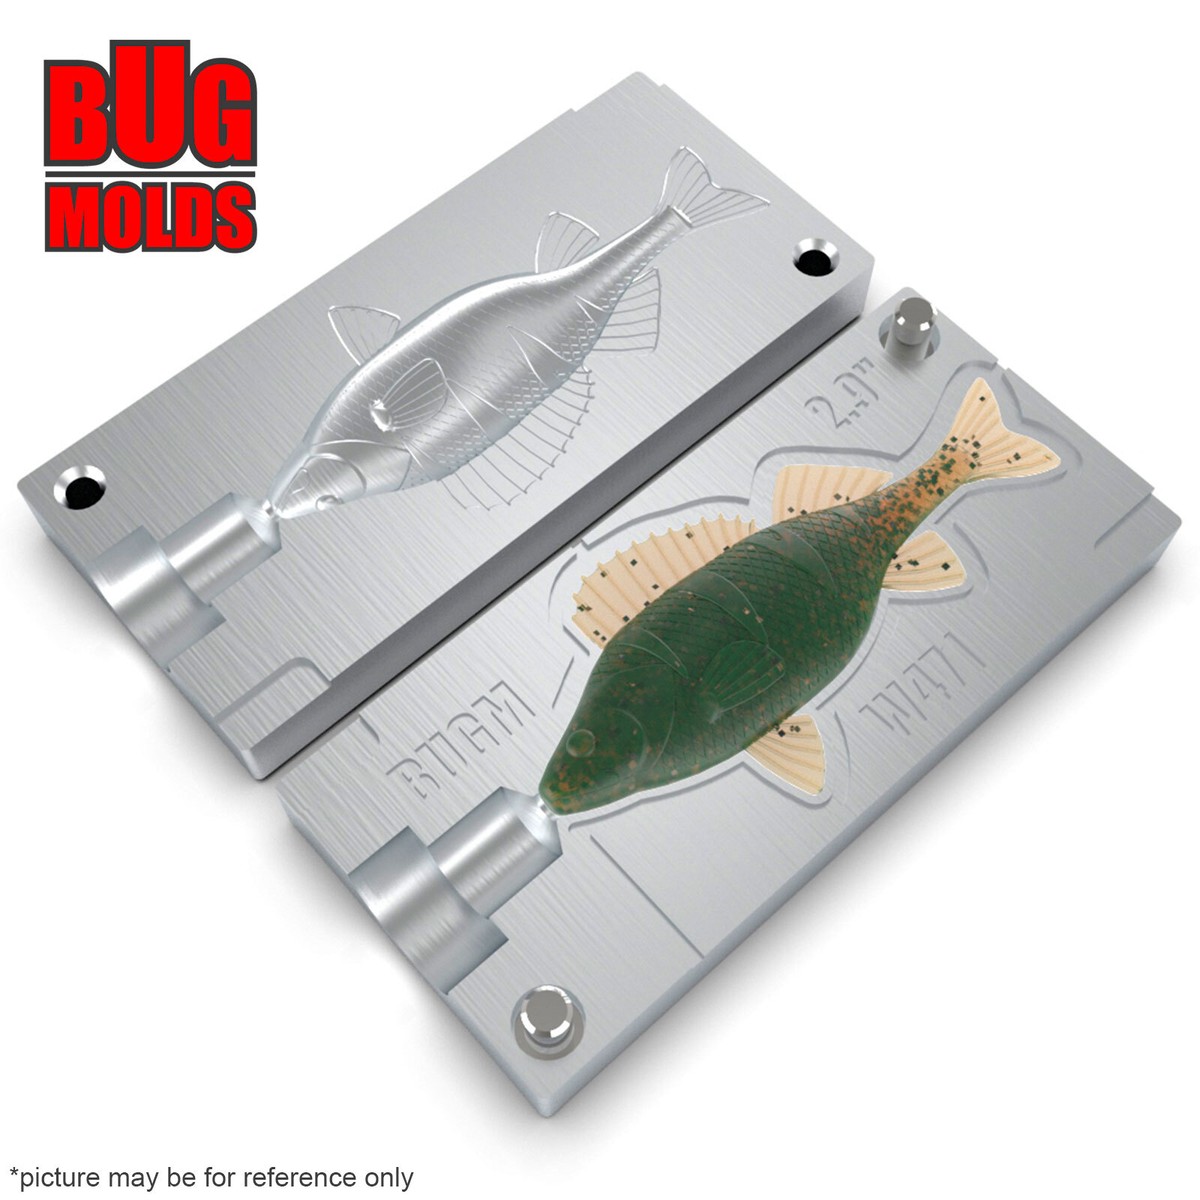
Materials Needed
Making soft plastic fishing lure molds requires specific materials. Using the right items ensures good results and easy molding.
This guide covers the essential materials you will need to start making your own lure molds at home.
Choosing The Right Silicone
Silicone is the main material used for soft plastic lure molds. Pick silicone that is flexible and safe for casting.
- Use 100% platinum-cure silicone for durability
- Choose silicone with a shore hardness of 20-30 for softness
- Avoid cheap silicone that may tear easily
- Check cure time to match your project speed
Tools And Supplies
| Tool or Supply | Purpose |
| Mixing cups | For measuring and mixing silicone parts |
| Stir sticks | To blend silicone evenly |
| Lure model | The original lure to copy |
| Release agent | Prevents silicone from sticking to the lure |
| Measuring scale | Ensures accurate silicone ratios |
| Gloves | Protect hands from chemicals |
| Mold container | Holds silicone while curing |
Preparing The Workspace
Set up a clean, flat workspace before starting your mold. A tidy area helps avoid mistakes and contamination.
- Cover the surface with wax paper or plastic sheet
- Gather all materials nearby for easy access
- Ensure good ventilation in the room
- Wear old clothes to avoid stains
- Keep paper towels or rags handy for spills

Credit: www.leoalmanac.org
Designing Your Lure
Designing a soft plastic fishing lure can be a fun and creative process. You need to consider shape, details, and functionality to attract fish effectively.
This guide will help you select the right shapes, create prototypes, and add detailed designs to your lures.
Selecting Lure Shapes
The shape of your lure is critical in mimicking the natural prey of fish. Different shapes can attract different types of fish.
- Worms: Great for bass fishing.
- Shad: Mimics baitfish, useful for various species.
- Crawfish: Ideal for bottom feeders like catfish.
Creating A Prototype
Start by crafting a basic prototype of your lure. This helps you visualize the design and make necessary adjustments.
Use materials like clay or wax for your initial model. These materials are easy to mold and shape, allowing for quick changes.
Tips For Detailed Designs
Adding details to your lure can make it more attractive to fish. Small changes can have a big impact on the lure’s effectiveness.
| Detail | Purpose |
| Ridges | Creates vibrations in water |
| Eyes | Mimics real prey |
| Color | Increases visibility |
Mixing Silicone Mold Compound
Making soft plastic fishing lure molds needs careful mixing of silicone mold compound. The right mix creates strong, flexible molds that last long.
This guide explains how to measure, mix, and avoid air bubbles in your silicone mold compound.
Measuring Ingredients
Use a clean scale or measuring cups to get exact amounts. Accurate measuring keeps the silicone strong and cures it properly.
Follow the silicone product instructions for the right ratio of base to catalyst. Too much or too little catalyst causes problems.
- Measure base silicone first
- Add catalyst carefully
- Check ratio on product label
- Use tools that are clean and dry
Mixing Techniques
Mix silicone slowly and steadily to blend the base and catalyst well. Stirring too fast can create bubbles.
Use a flat stir stick and scrape the sides and bottom of the container. This helps to mix all parts evenly.
- Mix for at least 2-3 minutes
- Stir in a figure-eight motion
- Scrape container edges often
- Avoid whipping air into the mix
Avoiding Air Bubbles
Air bubbles can weaken your mold. To prevent bubbles, pour silicone slowly and tap the container gently.
You can also let the mixed silicone sit for a few minutes. This allows bubbles to rise and pop before you pour.
- Pour silicone slowly and steadily
- Tap or shake container lightly
- Let mixture rest for 5 minutes
- Use a vacuum chamber if available
Credit: www.ebay.ca
Mold Making Process
Making soft plastic fishing lure molds requires careful steps. The process uses silicone to create a flexible mold.
This guide explains how to set up the mold container, pour silicone, and cure the mold properly.
Setting Up The Mold Container
Choose a container that fits your lure prototype well. It should be slightly bigger than the lure on all sides.
Seal the bottom and sides to prevent silicone leaks. Use clay or hot glue to close any gaps.
- Use a plastic or glass container
- Make sure the container is clean and dry
- Seal corners with clay or tape
- Leave extra space for silicone around the lure
Pouring Silicone Over Prototype
Mix silicone according to the package instructions. Pour slowly to avoid air bubbles.
Start pouring at one corner and let silicone flow over the lure. This helps reduce trapped air.
- Wear gloves for protection
- Mix silicone thoroughly but gently
- Pour silicone slowly over the prototype
- Tap container lightly to release bubbles
Curing Time And Conditions
Let the silicone cure in a dust-free area. The curing time depends on the silicone type used.
Maintain a stable room temperature for the best results. Avoid moving the mold during curing.
- Typical curing time: 6 to 24 hours
- Ideal temperature: 70 to 80°F (21 to 27°C)
- Keep mold undisturbed during curing
- Check manufacturer instructions for details
Demolding And Finishing
After making your soft plastic fishing lure molds, you need to remove them carefully. This step protects your mold from damage. Finishing the mold ensures your lures come out perfect every time.
Good demolding and finishing improve the mold’s life. They also make your fishing lures look professional and work well in the water.
Removing The Mold Carefully
Wait until the silicone mold is fully set before removing it. Gently pull the mold away from the lure shape. Avoid using sharp tools that can tear the silicone.
Use slow and even pressure. Stretch the silicone if needed to release the shape inside. Work your way around the mold to keep it intact.
Trimming Excess Silicone
After removing the mold, you may see extra silicone edges. These are called flash. Use a sharp craft knife or scissors to trim them off carefully.
Trim close to the mold shape but do not cut into the detail areas. A clean edge helps the plastic flow better during casting.
- Use a new, sharp blade for clean cuts
- Trim small bits at a time
- Check edges under good light
Inspecting Mold Quality
Check your mold for any tears, bubbles, or imperfections. Small bubbles can create weak spots in your lures. Tears can cause leaks during casting.
Look inside the mold for smooth surfaces. The better the mold quality, the better your soft plastic lures will turn out.
- Run your fingers gently over mold edges
- Look for holes or thin spots
- Fix small issues with extra silicone if needed
Credit: www.battlbox.com
Casting Soft Plastic Lures
Making soft plastic fishing lure molds is fun and useful. You can create many lure shapes at home.
This guide shows how to cast soft plastic lures step by step. It covers materials, pouring, and curing.
Choosing Soft Plastic Materials
Pick the right plastic for soft lures. It must be flexible but strong enough to last.
Use plastisol, a popular choice for soft plastic lures. It melts easily and cools into a soft form.
- Plastisol is easy to color and scent
- Choose non-toxic plastisol for safety
- Keep plastisol at the right temperature to avoid burning
Pouring Plastic Into Molds
Heat the plastisol until it becomes liquid before pouring. Use a controlled heat source for safety.
Slowly pour the hot plastisol into the mold cavity. Fill the mold completely to avoid air bubbles.
- Use gloves to protect your hands
- Pour steadily to reduce air pockets
- Tap the mold gently to release trapped air
Curing And Removing Lures
Let the plastisol cool and harden in the mold. This process is called curing and can take several minutes.
Once cooled, carefully open the mold and remove the soft plastic lure. Avoid stretching the lure too much.
- Check the lure for defects or air bubbles
- Trim excess plastic from edges
- Store lures in a cool, dry place
Tips For Durable Molds
Making soft plastic fishing lure molds takes care and attention. Durable molds help you create more lures without damage.
Using the right tips can keep your molds strong and long-lasting. This guide shares important ways to protect your molds.
Storage Practices
Store molds in a cool, dry place to stop warping or cracking. Avoid direct sunlight because it can weaken the material.
Keep molds away from heavy objects that might press or bend them. Use soft padding or containers for extra protection.
- Use airtight containers to keep dust out
- Label molds to find them easily
- Keep molds separated to avoid sticking together
Cleaning And Maintenance
Clean molds after each use to remove leftover plastic and dirt. Use warm water and a mild soap for cleaning.
Avoid harsh chemicals that can damage the mold surface. Dry molds completely before storing to prevent mold growth.
- Use a soft brush to reach small areas
- Check for cracks or damage during cleaning
- Apply mold release agent before each use
Extending Mold Lifespan
Handle molds gently to avoid bending or breaking. Use the right tools to remove lures without stretching the mold.
Rotate between several molds if you make many lures. This lowers wear and keeps each mold in better shape longer.
- Store molds flat to keep their shape
- Avoid overheating molds during plastic casting
- Fix small damages quickly to prevent bigger cracks
Troubleshooting Common Issues
Making soft plastic fishing lure molds can be tricky. Small problems can affect the final lure quality.
This guide helps you fix common mold problems to get better results every time.
Fixing Mold Imperfections
Mold imperfections like rough edges or uneven surfaces affect your lure shape. Clean the mold carefully to remove dirt before use.
If you see small cracks or holes, use a fine brush to apply silicone sealant. Let it dry fully before casting your lure.
Dealing With Air Bubbles
Air bubbles inside the mold cause holes or weak spots in the lure. Remove bubbles for smooth, strong lures.
- Mix silicone slowly to avoid trapping air.
- Use a vacuum chamber if available to pull out air bubbles.
- Tap the mold gently after pouring silicone to release trapped air.
- Pour silicone in a thin stream to reduce bubble formation.
Improving Mold Flexibility
Flexible molds release lures easily without damage. Silicone type and cure time affect flexibility.
| Problem | Cause | Solution |
| Mold too stiff | Wrong silicone mix or short cure | Use softer silicone; cure fully |
| Mold tears easily | Too thin mold walls | Make thicker mold layers |
| Mold sticky | Incomplete cure or residue | Clean mold; allow more cure time |
Frequently Asked Questions
What Materials Are Best For Soft Plastic Fishing Lure Molds?
Silicone and polyurethane are top choices for fishing lure molds. They offer flexibility, durability, and easy release. These materials withstand high temperatures and capture fine details, ensuring quality lures every time.
How Do I Prepare The Mold For Pouring Plastic?
Clean the mold thoroughly to remove dust and debris. Apply a mold release agent to prevent sticking. Ensure the mold is dry and at room temperature before pouring the heated soft plastic.
Can I Reuse Soft Plastic Fishing Lure Molds?
Yes, silicone and polyurethane molds can be reused multiple times. Proper cleaning and storage extend mold life. Avoid excessive heat or sharp tools to maintain mold integrity.
What Is The Best Temperature For Pouring Soft Plastic?
Heat soft plastic to 250°F-300°F (121°C-149°C) for optimal pouring. Too hot plastic can degrade; too cold leads to poor flow. Use a thermometer for precise temperature control.
Conclusion
Creating soft plastic fishing lure molds takes patience and care. Follow each step closely to get good results. Use the right materials and tools for better molds. Practice makes your molds stronger and more detailed. Enjoy making lures that match your fishing needs.
Keep experimenting to improve your skills every time. This process adds fun and creativity to fishing. Try making your own molds and see the difference.