Have you noticed those annoying bubbles ruining the smooth look of your window tint? Those tiny air pockets can be frustrating and make your car or home windows look messy.
But don’t worry—you don’t have to live with them or pay for an expensive replacement. In this guide, you’ll discover simple, effective ways to fix window tint bubbles yourself. Keep reading, and you’ll learn how to restore your tint to a flawless finish quickly and easily.

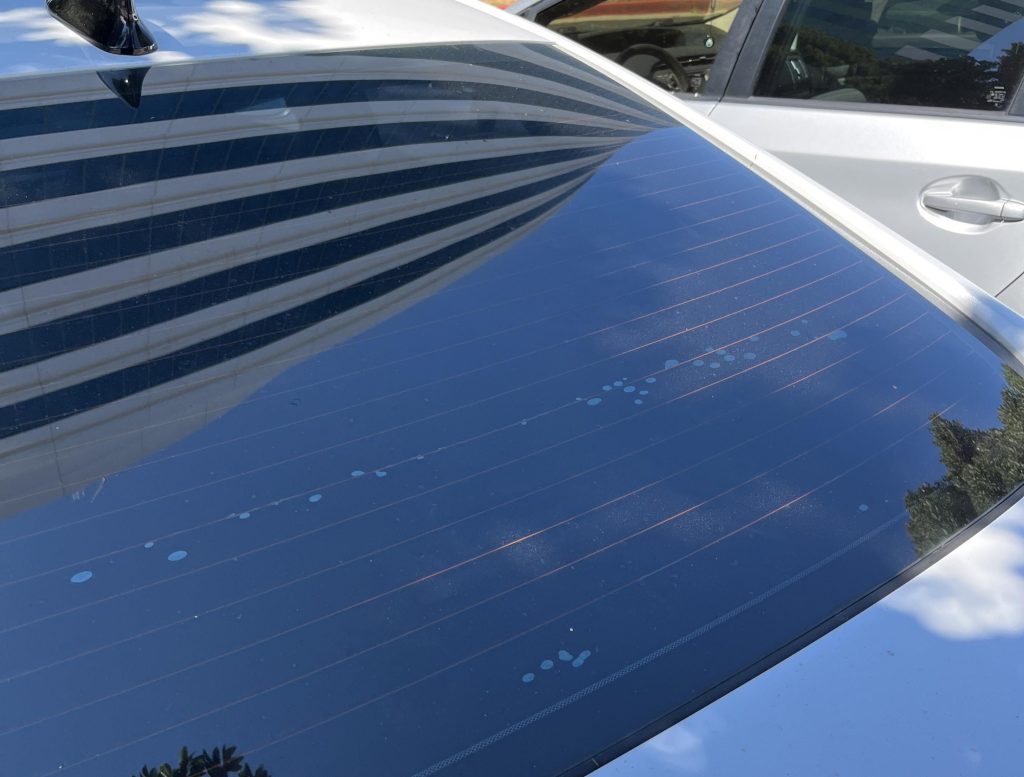
Credit: www.reddit.com
Causes Of Tint Bubbles
Tint bubbles are a common problem that affects the look and durability of window tints. These bubbles appear as small pockets of air or moisture trapped under the tint film. Understanding the causes helps prevent damage and ensures a smooth, clear finish.
Poor Installation
Incorrect installation is the main cause of tint bubbles. If the tint film is not applied evenly, air can get trapped underneath. Rushing the process or using the wrong tools can lead to wrinkles and bubbles. Proper technique and patience are key to avoiding these issues.
Heat And Moisture
Heat can cause the tint adhesive to weaken. This allows air or moisture to collect and form bubbles. Moisture from rain or car washes can also seep under the tint if the edges are not sealed well. Extreme temperature changes make the problem worse.
Dirty Window Surface
Dirt and dust on the window create barriers between the glass and tint film. This stops the tint from sticking properly. Even tiny particles can cause bubbles to form. Cleaning the window thoroughly before applying the tint is essential for a smooth finish.

Credit: www.reddit.com
Tools Needed For Repair
Fixing window tint bubbles requires a few simple tools. These tools help smooth out the bubbles and restore a clean look. Having the right items makes the process faster and easier. You need tools to heat, poke, press, and clean the tint surface.
Heat Gun Or Hair Dryer
A heat gun or hair dryer softens the tint film. Heat makes the film more flexible and easier to work with. Use medium heat to avoid damage. Gently warm the bubble area until the tint feels pliable.
Pin Or Needle
A small pin or needle helps release trapped air. Carefully poke tiny holes in the bubbles. This lets air escape without tearing the tint. Use a sharp, clean pin for better control.
Squeegee Or Credit Card
A squeegee or old credit card pushes out air and smooths the film. Use it to press the tint flat against the window. Work from the center of the bubble outward. This removes wrinkles and bubbles efficiently.
Cleaning Supplies
Cleaning supplies prepare the surface before fixing bubbles. Use glass cleaner and a lint-free cloth. Clean the window and tint gently. Dirt and dust can cause more bubbles if not removed.
Preparing The Window
Preparing the window is the first crucial step to fix tint bubbles effectively. The surface must be spotless and dry. Dirt or moisture can trap air and cause more bubbles. Proper preparation ensures the tint film sticks smoothly without imperfections.
Clean The Surface Thoroughly
Use a soft cloth and a mild glass cleaner. Avoid harsh chemicals that may damage the tint or glass. Remove all dust, grease, and fingerprints. Pay close attention to corners and edges where dirt collects. A clean surface helps the tint film adhere better.
Dry The Area Completely
After cleaning, wipe the window with a dry microfiber cloth. Make sure no moisture remains on the glass. Any dampness can create bubbles under the film. Let the window air dry for a few minutes if needed. A dry surface is key to a smooth tint application.
Step-by-step Bubble Removal
Removing bubbles from window tint can be a straightforward task if you handle it carefully. These bubbles not only affect the look of your windows but can also reduce the effectiveness of the tint. Follow these clear steps to restore your tint to a smooth, flawless finish.
Heating The Tint Film
Start by gently warming the bubbled area with a hairdryer or heat gun set to low. Heat softens the adhesive under the tint, making the film more flexible and easier to manipulate.
Keep the heat source moving to avoid overheating or damaging the tint. Have you noticed how a little warmth can transform a stubborn bubble into a pliable patch?
Puncturing The Bubble
Use a sharp pin or needle to carefully puncture the center of the bubble. This step allows trapped air or moisture to escape without lifting the entire film.
Be precise and gentle—too large a hole can create a new problem. Think of it like letting out air from a tire: a small release goes a long way.
Smoothing Out The Film
After releasing the air, press the tint down firmly using a plastic squeegee or a credit card wrapped in a soft cloth. Start from the center and push outward to the edges to ensure even adhesion.
This action removes any remaining air pockets and helps the film bond back to the glass. Have you ever felt satisfaction from smoothing out a wrinkle? This step delivers exactly that feeling.
Preventing Future Bubbles
Preventing bubbles in your window tint is key to keeping it smooth and clear for the long haul. Once bubbles appear, they can spoil the look and reduce the tint’s effectiveness. Taking a few smart steps during and after installation can save you from this hassle.
Proper Installation Tips
Installing window tint correctly is your first defense against bubbles. Make sure the glass is thoroughly cleaned before applying the tint—any dirt or dust will trap air and cause bubbling.
Use a quality squeegee to press out air pockets as you go. Work slowly and patiently, smoothing from the center outwards to the edges. Rushing this process often leads to trapped air and bubbles forming later.
Maintaining Window Tint
How often do you clean your tinted windows? Regular cleaning with a soft cloth and a mild, non-ammonia cleaner helps maintain the tint’s adhesion. Avoid abrasive materials that might scratch or damage the film.
Inspect your tint regularly for small bubbles or peeling edges. Catching these early means you can fix them before they grow larger and become permanent.
Avoiding Extreme Conditions
Extreme heat or cold can affect your tint film’s stability. Try to park your car in shaded or covered areas to protect the tint from harsh sunlight and temperature swings.
Have you noticed bubbles forming after a hot day or a cold night? Minimizing exposure to these conditions reduces stress on the film, helping it stay smooth and intact.

Credit: www.youtube.com
When To Seek Professional Help
Knowing when to seek professional help for window tint bubbles can save you time, money, and frustration. Some issues are easy to fix on your own, but others require expert intervention to avoid further damage. Recognizing the signs that your tint problem is beyond DIY will help you make the best decision for your vehicle’s appearance and protection.
Severe Damage
If the tint has large cracks, tears, or peeling edges, it’s a clear sign that professional help is needed. These types of damage often can’t be repaired by simple heat treatments or smoothing techniques.
Attempting to fix severe damage yourself might worsen the issue, leading to costly replacements. Professionals have the right tools and materials to restore or replace the tint properly.
Multiple Bubbles
Finding just one or two bubbles can be manageable, but multiple bubbles spread across the window usually indicate a bigger problem.
This could mean the tint was applied incorrectly or the adhesive is failing. A professional can diagnose the root cause and offer a solution that prevents recurring bubbles.
Warranty Considerations
Check if your tint has a warranty before attempting any repairs yourself. Many manufacturers require professional servicing to keep the warranty valid.
Trying to fix bubbles on your own might void the warranty, leaving you responsible for future costs. A professional service can ensure repairs are done within the warranty terms, giving you peace of mind.
Frequently Asked Questions
What Causes Bubbles In Window Tint?
Bubbles form due to improper installation or trapped moisture. Poor-quality tint film can also cause bubbling. Ensuring a clean window surface and using professional-grade tint can help prevent this issue.
Can Window Tint Bubbles Go Away On Their Own?
Small bubbles may disappear over time as the tint cures. However, persistent bubbles often require professional attention. It’s best to address bubbles early to prevent further damage.
How Can I Fix Window Tint Bubbles?
To fix bubbles, use a heat gun and a squeegee. Gently heat the area and smooth out bubbles with the squeegee. Professional help may be needed for large or stubborn bubbles.
Is It Possible To Prevent Window Tint Bubbles?
Yes, proper installation is key to preventing bubbles. Ensure the window is clean and dry before applying tint. Using high-quality tint film and professional installation can significantly reduce the risk of bubbling.
Conclusion
Fixing window tint bubbles can save you time and money. Small bubbles often disappear with heat and patience. Larger bubbles may need gentle lifting and smoothing. Avoid rushing the process to prevent damage. Proper care keeps your tint looking smooth and clear.
Regular checks help catch bubbles early. Clear, bubble-free tint improves your car’s look and comfort. Simple steps make a big difference. Try these tips to keep your tint neat and lasting.