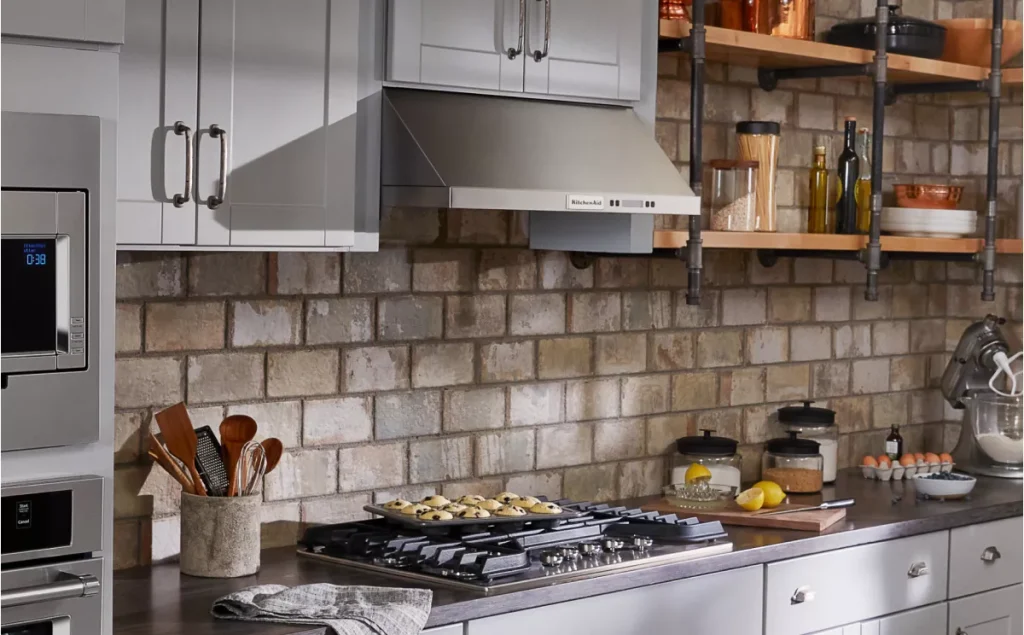
You’ve decided it’s time to replace your old range hood, but where do you begin? The task might seem daunting, but with the right guidance, you can handle it like a pro.
Imagine the satisfaction of upgrading your kitchen with a sleek, efficient range hood that not only enhances your cooking environment but also boosts your home’s value. You deserve a kitchen that works for you, and this step-by-step guide will show you how to replace your range hood with ease.
Dive in to discover the secrets to a successful installation that will leave you wondering why you didn’t do it sooner. Stay with us to learn the simple yet effective techniques that will transform your kitchen space without breaking a sweat.
Tools And Materials Needed
Replacing a range hood can seem daunting, but having the right tools and materials makes all the difference. Gathering everything beforehand saves you time and frustration during the project. It also ensures your installation goes smoothly and safely.
Essential Tools For Replacing A Range Hood
- Screwdrivers:Both flat-head and Phillips screwdrivers are necessary for removing and installing screws.
- Drill and Drill Bits:A power drill speeds up the process, especially when mounting the new hood.
- Measuring Tape:Precise measurements prevent errors when aligning the range hood.
- Wire Strippers:Needed for handling electrical connections safely and correctly.
- Level:Ensures the range hood is installed perfectly horizontal for both function and appearance.
- Utility Knife:Useful for cutting through caulk or trimming any packaging materials.
Materials You’ll Need For Installation
- Replacement Range Hood:Choose one that fits your kitchen’s size and venting needs.
- Mounting Brackets and Screws:These often come with the hood but check to avoid last-minute trips to the hardware store.
- Vent Ducting:If your old ductwork is damaged or incompatible, replacement is necessary for proper ventilation.
- Electrical Wire and Connectors:Ensure you have the right gauge and connectors for safe wiring.
- Caulk or Sealant:Helps seal gaps between the hood and wall or cabinet to prevent leaks.
Why Having The Right Tools And Materials Matters
Skipping on tools or materials can cause delays or even unsafe installations. Imagine starting the job only to realize your screwdriver doesn’t fit the screws or your vent duct doesn’t match the new hood. I once had to pause mid-installation because I didn’t have the right drill bit—what a hassle that was!
Do you have all your tools ready before starting? Taking a moment to double-check can save hours of headaches. What’s the one tool you think is absolutely essential for a smooth installation?
Preparing The Work Area
Preparing the work area is a vital step before replacing your range hood. A clean and organized space makes the task easier and safer. It also helps protect your kitchen from damage and dust. Taking time to prepare ensures a smooth replacement process.
Clear The Surrounding Space
Remove all items near the range hood. Clear countertops, shelves, and nearby cabinets. This prevents accidents and gives you enough room to work comfortably. Keep fragile items away to avoid breakage.
Protect Surfaces And Appliances
Cover countertops and the stove with drop cloths or old towels. This protects surfaces from dust, debris, and scratches. Use painter’s tape to secure the covers in place. Shield nearby appliances to avoid damage.
Gather Necessary Tools And Materials
Collect all tools needed for the replacement. Common tools include screwdrivers, a drill, wire cutters, and a ladder. Having everything ready avoids interruptions and saves time. Check that your new range hood fits your space and power supply.
Turn Off Power Supply
Switch off the circuit breaker to the range hood. This prevents electrical shocks during removal and installation. Use a voltage tester to confirm no power is flowing. Safety first.
Turning Off Power And Ventilation
Before you start replacing your range hood, the most important safety step is turning off the power and ventilation. Skipping this can lead to electric shocks or unwanted air blowing dust and debris around your kitchen. It’s not just about safety; proper shutdown makes the whole process smoother and less stressful.
Locate The Circuit Breaker
Find the circuit breaker that controls the power to your range hood. This is usually labeled in your home’s electrical panel, but if not, you can switch off the main breaker to be safe. Double-check by trying to turn the range hood on after flipping the breaker; if it doesn’t power up, you’re good to go.
Unplug Or Disconnect The Power Source
Some range hoods plug directly into an outlet, while others are hardwired. If yours plugs in, simply unplug it after turning off the power at the breaker. For hardwired units, you’ll need to carefully disconnect the wiring—make sure you’ve tested the power is off with a voltage tester to avoid shocks.
Turn Off The Ventilation Fan
Many range hoods connect to an external vent or duct system. Locate the ventilation switch or the power source for the exhaust fan and turn it off. If you’re unsure, unplug any connected vents or close the duct damper to prevent air from flowing while you work.
Double Check With A Voltage Tester
Even if you flipped the breaker, it’s smart to verify no electricity is flowing. Use a voltage tester on the range hood’s wiring or outlet. If the tester shows no voltage, your power is truly off and you can proceed without worry.
Why Skip This Step? Think Again
Have you ever thought about how a small oversight like not turning off the power could ruin your day? One electric shock or a sudden gust from the ventilation can cause accidents or damage your new range hood before it’s even installed. Taking these precautions saves you time, money, and frustration.
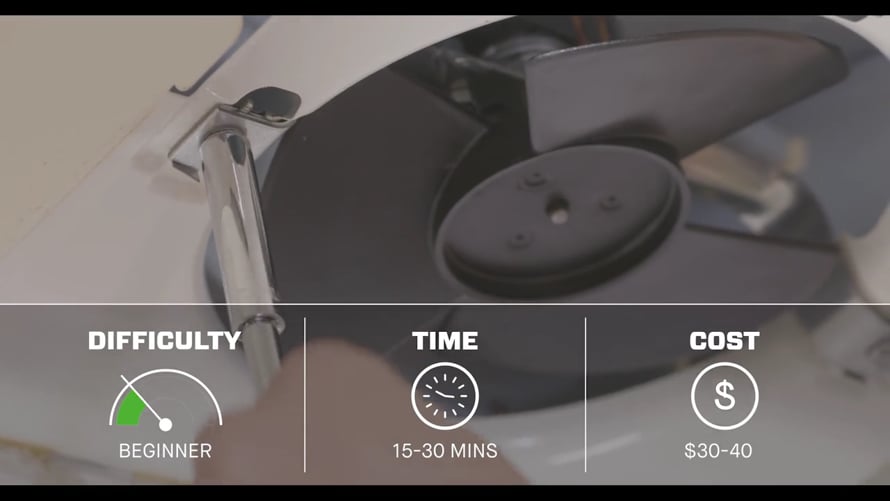
Credit: vimeo.com
Removing The Old Range Hood
Removing the old range hood is a crucial step before installing a new one. It requires care to avoid damaging your kitchen walls or cabinets. Taking your time here can make the replacement process smoother and safer.
Disconnecting Electrical Connections
Start by turning off the power to the range hood at your circuit breaker to avoid any electrical hazards. Use a voltage tester to double-check that the power is off before touching any wires.
Once confirmed, carefully remove the electrical cover plate to access the wiring. You’ll typically see a few wires connected with wire nuts. Unscrew these nuts and gently separate the wires, noting how they were connected for your new installation.
Don’t rush this part—damaged wires can cause problems later. If you find any frayed wires, now is a good time to replace or repair them.
Detaching The Hood From The Wall Or Cabinet
Next, locate the screws or bolts holding the hood in place. They’re often found inside the hood’s interior or along its edges.
Support the hood with one hand or have someone assist you, as it can be heavy and awkward to handle alone. Slowly unscrew the fasteners while keeping a firm grip on the hood.
Once all screws are removed, gently pull the hood away from the wall or cabinet. Watch for any clips or additional brackets that might still be attached.
Have you noticed how many different mounting styles there are? Identifying yours accurately can save you from unexpected challenges. Also, keep a container handy for screws—you don’t want to lose them if you plan to reuse any parts.
Inspecting And Cleaning The Vent
Inspecting and cleaning the vent is a key step when replacing a range hood. It ensures the new hood works efficiently and safely. A blocked or dirty vent can reduce airflow and cause smoke or odors to linger. Regular inspection helps catch problems early and keeps your kitchen fresh.
Start by checking the vent for any visible dirt or damage. Look inside the duct and around the vent cover. Remove any dust, grease, or debris that might block air passage. Cleaning the vent improves air quality and prevents fire hazards.
Tools Needed For Vent Inspection
- Flashlight to see inside the vent
- Screwdriver to remove vent covers
- Brush or vacuum for cleaning
- Cloth and mild detergent for wiping
- Gloves to protect your hands
How To Inspect The Vent
- Turn off power to the range hood
- Remove the vent cover carefully
- Shine the flashlight inside the duct
- Look for blockages or signs of damage
- Check the vent flap or damper for smooth movement
Cleaning The Vent Properly
- Use a brush or vacuum to remove dust
- Wipe vent covers with a damp cloth
- Clean greasy areas with mild detergent
- Ensure the vent flap moves freely
- Reinstall vent covers securely
Credit: www.familyhandyman.com
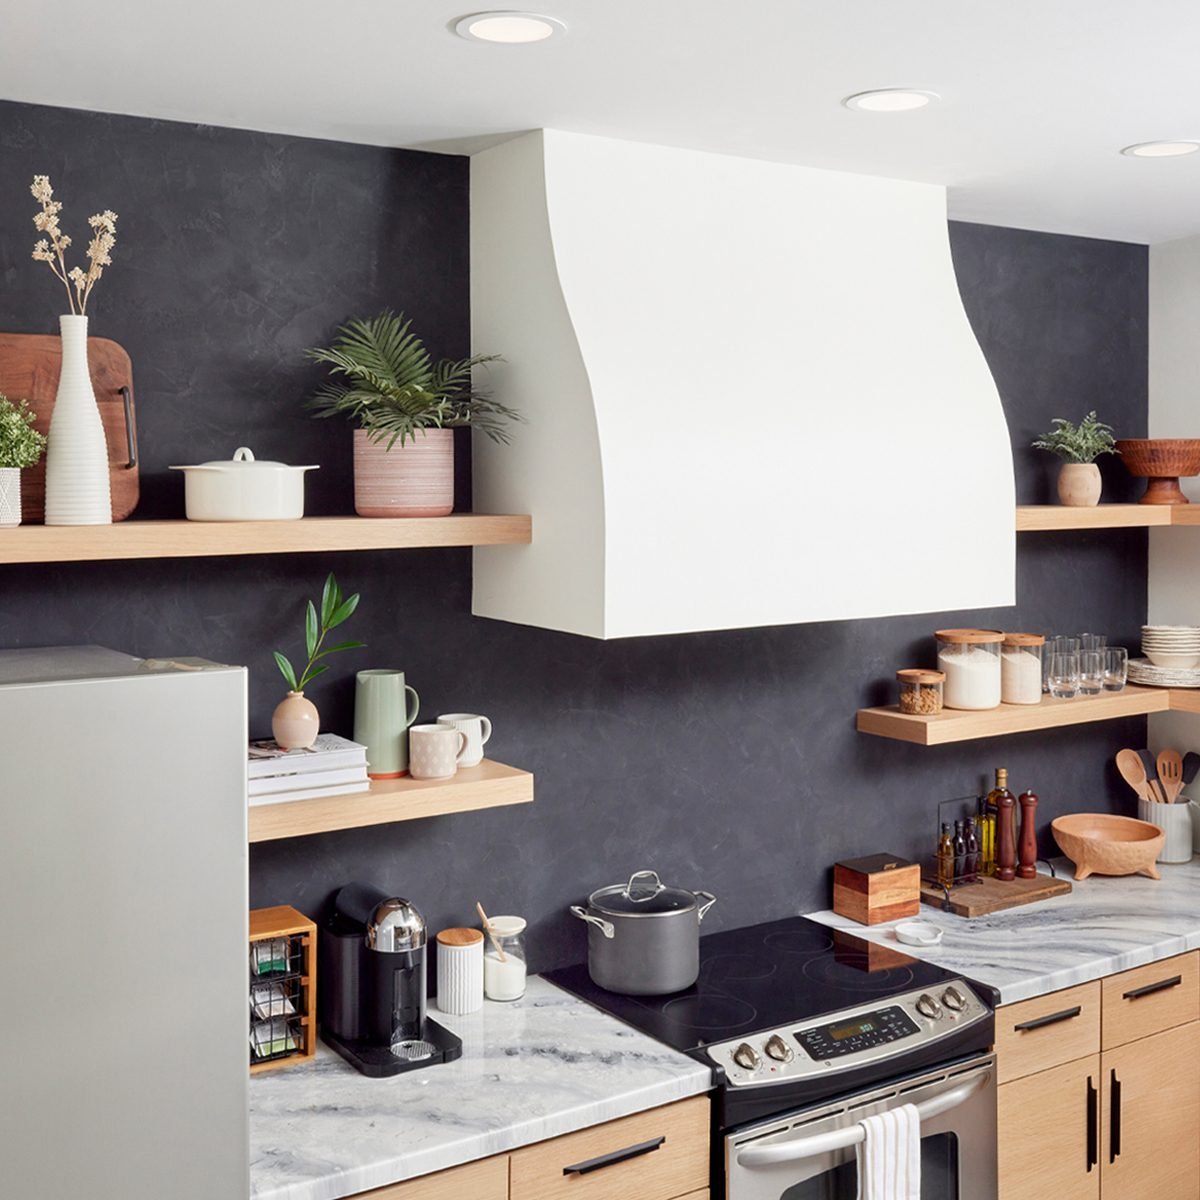
Installing The New Range Hood
Installing the new range hood requires careful attention to detail. Correct installation ensures the hood works efficiently and safely. Follow these key steps to position, connect, and secure the hood properly.
Positioning And Securing The Hood
Place the range hood at the recommended height above the stove. This height usually ranges between 24 and 30 inches. Use a level to keep the hood straight. Mark the mounting points on the wall or cabinet. Drill holes for the screws in the marked spots. Secure the hood firmly using appropriate screws and anchors. Double-check the hood is stable before moving on.
Connecting Electrical Wiring
Turn off power from the circuit breaker before working with wires. Match the wires by color: black to black, white to white, and green or bare copper to ground. Use wire nuts to connect the wires securely. Wrap electrical tape around the wire nuts for extra safety. Push the wires neatly into the electrical box. Restore power and test the hood’s light and fan functions.
Attaching The Vent Duct
Choose the correct size vent duct that fits the hood’s outlet. Attach the duct to the hood’s vent collar with metal foil tape. Secure the duct to the wall or ceiling vent opening. Avoid sharp bends or kinks in the duct. Use screws or clamps to hold the duct in place. Proper venting helps remove smoke and odors effectively.
Testing The New Installation
Testing the new range hood installation ensures it works correctly and safely. This step helps catch issues early. Proper testing improves kitchen air quality and appliance longevity. Follow simple checks to confirm your range hood functions as expected.
Checking The Power Connection
Turn on the circuit breaker or plug in the range hood. Press the power button. The hood’s light should turn on immediately. The fan should start running without noise or delay. If it does not start, check wiring connections or fuses.
Testing Fan Speeds And Controls
Use the control panel to change fan speeds. Test all speed settings from low to high. Listen for smooth operation without unusual sounds. The fan should switch speeds quickly and quietly. Confirm the light dims or brightens if your model has dimmer controls.
Verifying Ventilation And Airflow
Hold a small piece of tissue near the vent. The tissue should move toward the vent strongly. This indicates good airflow and proper venting. Ensure no air leaks from duct joints or connections. Proper airflow removes cooking smoke and odors effectively.
Inspecting Noise Levels
Stand at different spots in the kitchen. The range hood noise should be minimal and not disturbing. Loud or rattling sounds indicate loose parts or poor installation. Tighten screws and check mounting brackets if noise persists.
Confirming Light Functionality
Switch the range hood lights on and off several times. The bulbs or LEDs must illuminate steadily. Flickering or dim lights may need bulb replacement or wiring checks. Good lighting improves cooking visibility and safety.
Maintenance Tips For Range Hoods
Keeping your range hood in top shape not only extends its life but also improves the air quality in your kitchen. Regular maintenance helps your appliance work efficiently, saving you money on energy bills and repairs. Let’s look at some simple ways you can care for your range hood to avoid common issues and keep it running smoothly.
Cleaning The Filters
Filters trap grease and smoke, so they get dirty quickly. Cleaning them every month prevents buildup that can reduce airflow and cause odors.
- Remove the filters and soak them in hot, soapy water.
- Use a soft brush to scrub away grease.
- Rinse thoroughly and let them dry completely before reinstalling.
If your filters are disposable, replace them as recommended by the manufacturer to keep your hood working properly.
Wiping Down The Exterior And Interior
Grease and dust can settle on both the outside and inside surfaces of your range hood. Regular wiping helps prevent grime buildup and keeps your kitchen looking fresh.
- Use a damp cloth with mild detergent for the exterior.
- Carefully clean the interior parts you can reach, avoiding electrical components.
- Dry all surfaces thoroughly to prevent rust.
Don’t underestimate how a clean surface can improve your hood’s efficiency.
Checking The Vent And Fan
The vent and fan are essential for moving air out of your kitchen. If they get blocked or damaged, your range hood won’t work well.
- Inspect the vent for any obstructions like nests or debris.
- Listen for unusual noises from the fan, which could indicate a problem.
- If the fan blades look dirty, clean them gently to avoid imbalance.
Have you noticed your hood struggling to clear smoke? This might be a sign to check these parts.
Replacing Light Bulbs
Lights help you see what you’re cooking but can burn out over time. Using the correct bulb type ensures safety and brightness.
- Turn off the power before replacing bulbs.
- Check your range hood manual for the right bulb size and wattage.
- Replace bulbs promptly to maintain good visibility while cooking.
Good lighting makes cooking easier and safer—don’t ignore this small detail.

Credit: www.youtube.com
Frequently Asked Questions
What Tools Are Needed To Replace A Range Hood?
You need a screwdriver, drill, voltage tester, wire connectors, and a ladder. Safety gloves and goggles are also essential for protection during installation.
How Long Does It Take To Replace A Range Hood?
Replacing a range hood typically takes 2 to 4 hours. Time varies based on skill level and hood complexity. Preparation and cleanup add extra time.
Can I Replace A Range Hood Myself?
Yes, if you have basic electrical and carpentry skills. Always turn off power before starting. Follow manufacturer instructions for safety and proper installation.
How Do I Choose The Right Size Range Hood?
Select a hood at least as wide as your cooktop. For optimal ventilation, ensure the hood’s CFM matches your stove’s power output.
Conclusion
Replacing a range hood can improve kitchen air quality and comfort. Follow clear steps to remove the old hood safely. Choose a new hood that fits your space and needs. Take your time to connect wiring and ductwork correctly. Test the new hood to ensure it works well.
Enjoy a fresher kitchen with better ventilation. Small efforts bring big benefits. Ready to breathe easier?